Armytek Wizard C2 WR Magnet USB Warm Light Review

Armytek Wizard C2 WR#
- Specifications
- Introduction
- Torch in use
- Build quality
- LED, bezel, lens, reflector and beam
- Size and comparison
- User interface
- Batteries and charging
- Performance
- Beamshots
- Conclusion
- Price
- Product page
Specifications#
| Brand/model | Armytek Wizard C2 WR |
|---|---|
| LED | 2*XD16 (white) + 2*XQE (red) |
| Maximum lumens | 1,020 lm |
| Maximum beam intensity | 2,400 cd |
| Maximum throw | 97 m |
| Battery | 18650 |
| Onboard charging | Yes (Magnetic USB-A) |
| Material | Aluminium |
| Modes | 3 |
| Blinkies | Strobe |
| Reflector | TIR |
| Waterproof | IP68 |
| Review date | August 2023 |
Introduction#
I went out of my way to buy an Armytek Wizard C2 Pro Nichia headlamp second hand from Jacob at piercingthedarkness.co.nz in 2022 because it was difficult to find certain models of Armytek torches being sold in Australia. I wanted to compare it to my ZebraLight H600Fc Mk IV.
Luckily for Australian torch enthusiasts, there is now a local distributor in Australia!
Ben from Ground Force International, the exclusive national distributor of Armytek products in Australia, reached out to see if I would be interested in reviewing a torch by Armytek.
I asked if I could review the Armytek Wizard C2 WR (Warm Light) headlamp. It has two warm white emitters and two red emitters behind a single pebble TIR optic.
Ground Force International kindly provided this headlamp for review. I have not been paid for this review nor have I held back my opinions of this torch.
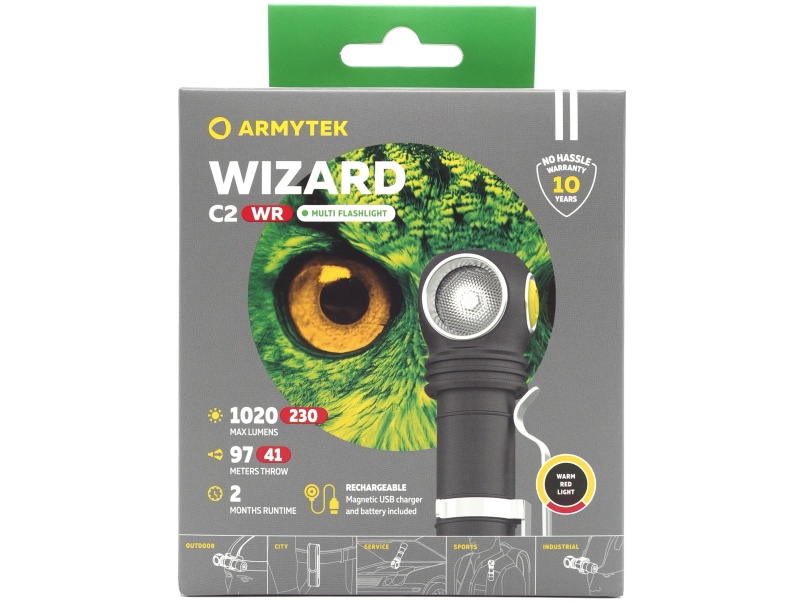
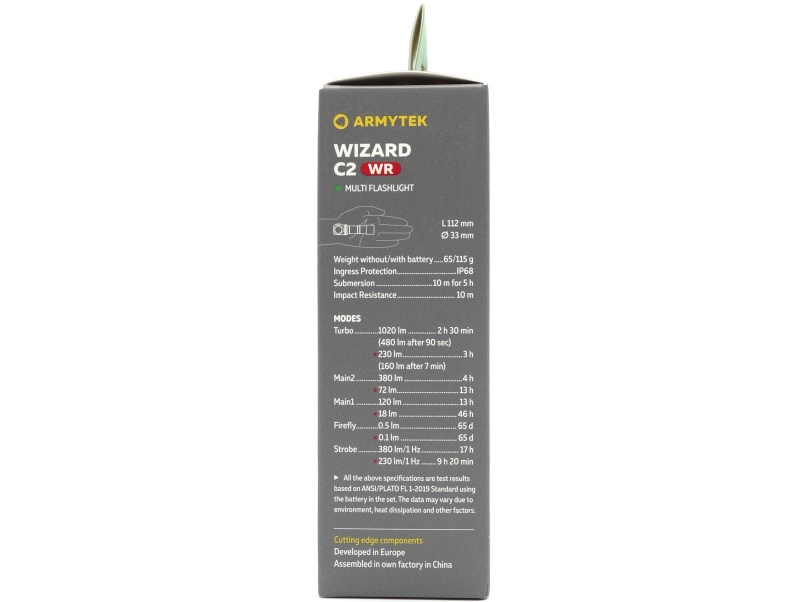
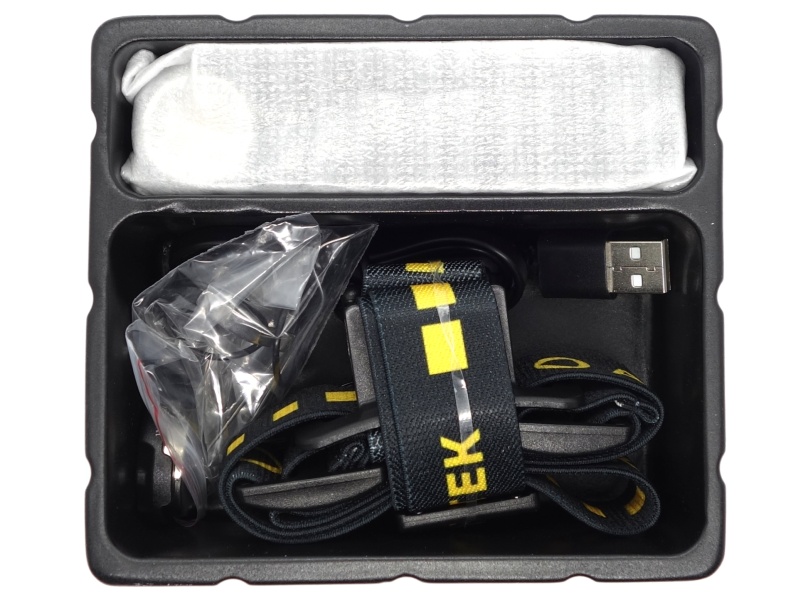
Packaging#
The headlamp comes in a gray and green box with Armytek branding. There are specifications on the box.
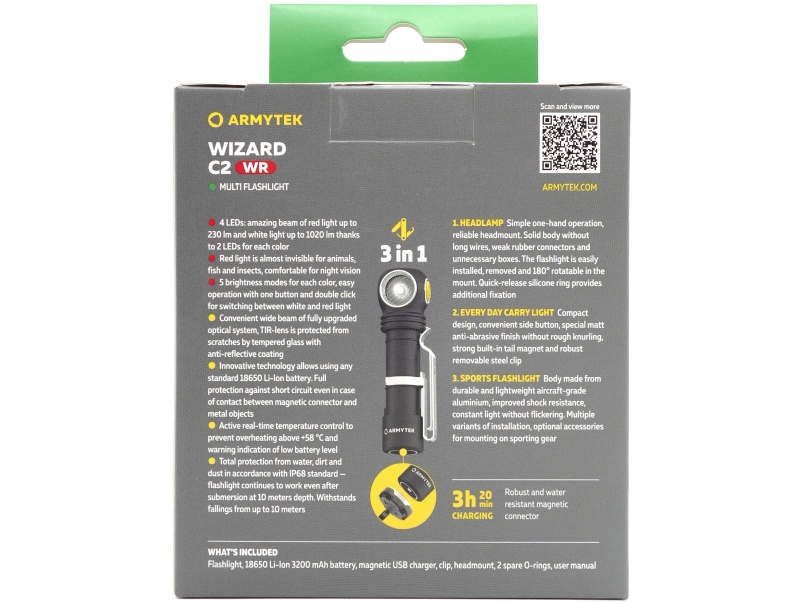
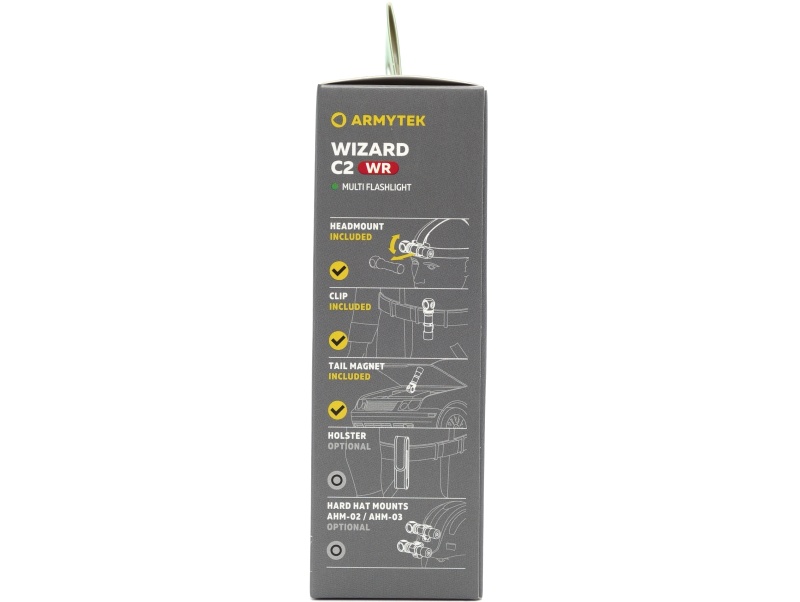
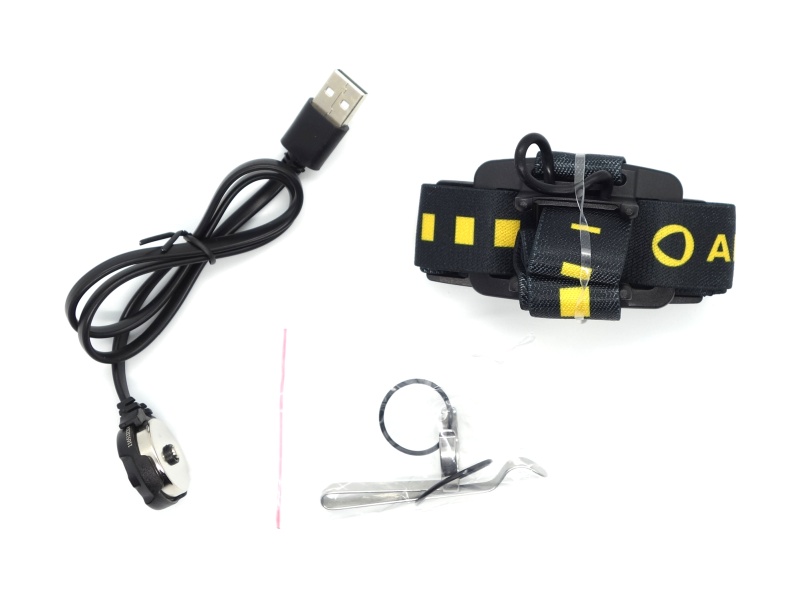
The following was included in the box:
- Armytek Wizard C2 WR (Warm Light) headlamp.
- Headband.
- Armytek 18650 3200mAh cell.
- USB-A to magnetic charging cable.
- Pocket clip.
- Two spare o-rings.
- User manual.

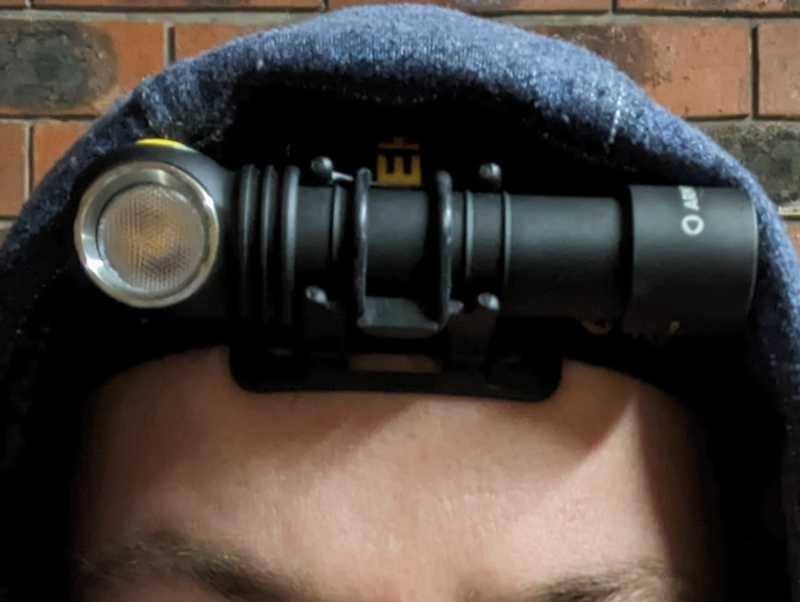
Torch in use#
The headband that comes with the Armytek Wizard C2 WR headlamp is one of the most comfortable headbands that I have tried. It easily fits my large head.
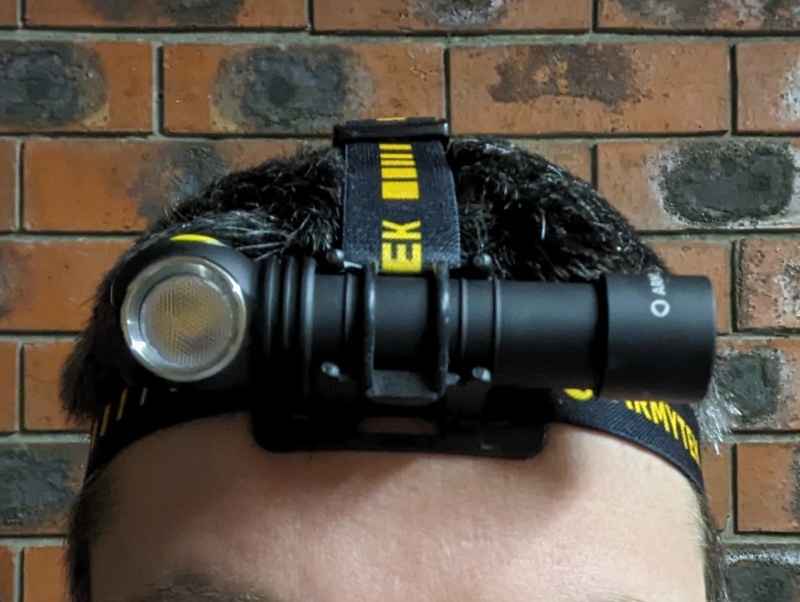
The headlamp clicks into the plastic mount and there is a rubber ring that can be pulled down to keep the headlamp secure. This makes it much easier to take the headlamp out and put it back in the mount.
I like how far forward the headlamp sits in the mount.
The user interface is simple. The white and red emitters can be controlled with a single button.
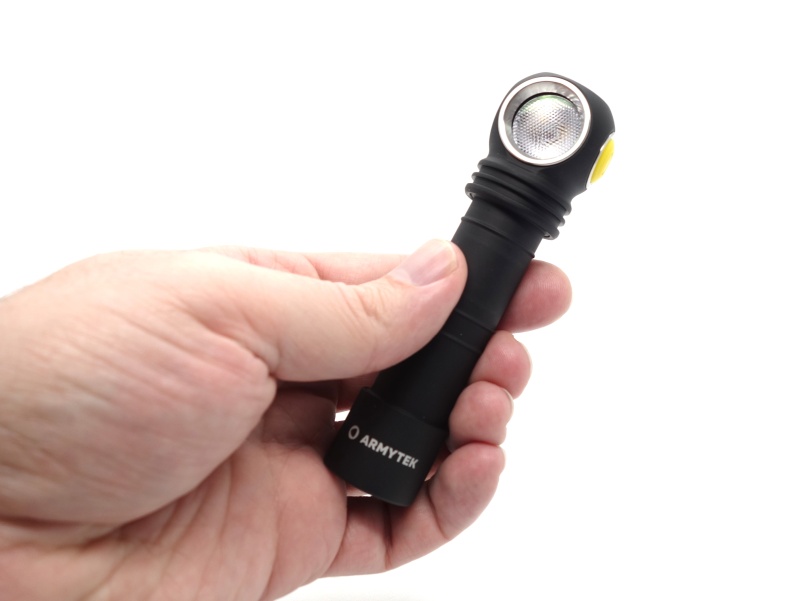
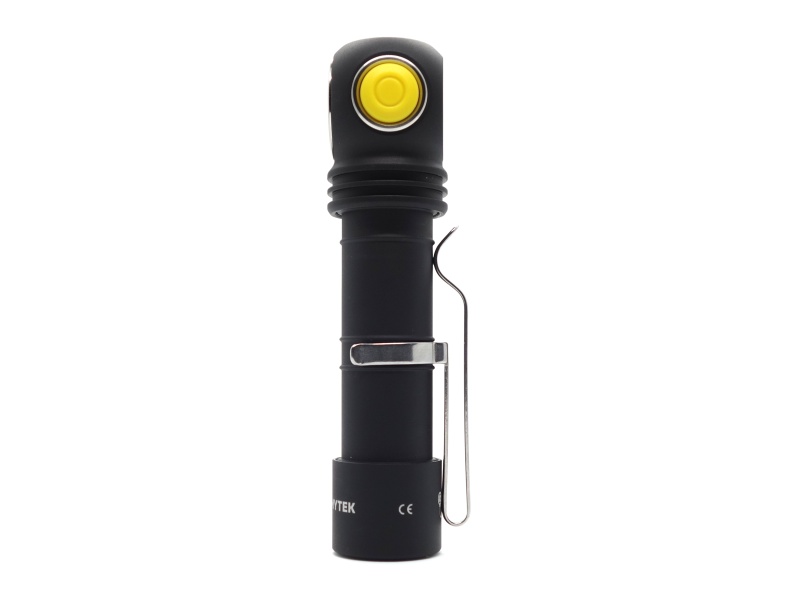
The headlamp can tailstand and it can be carried as a right-angle torch with a pocket clip.
The magnet in the tailcap is strong. This allows the headlamp to be used as a work light.
I have my Armytek Wizard C2 Pro Nichia mounted to the front of my bike so that it can provide a floody beam.
Build quality#
The Armytek Wizard C2 WR is made of aluminium and has a matte black anodised finish. It feels smooth. There are no sharp edges.
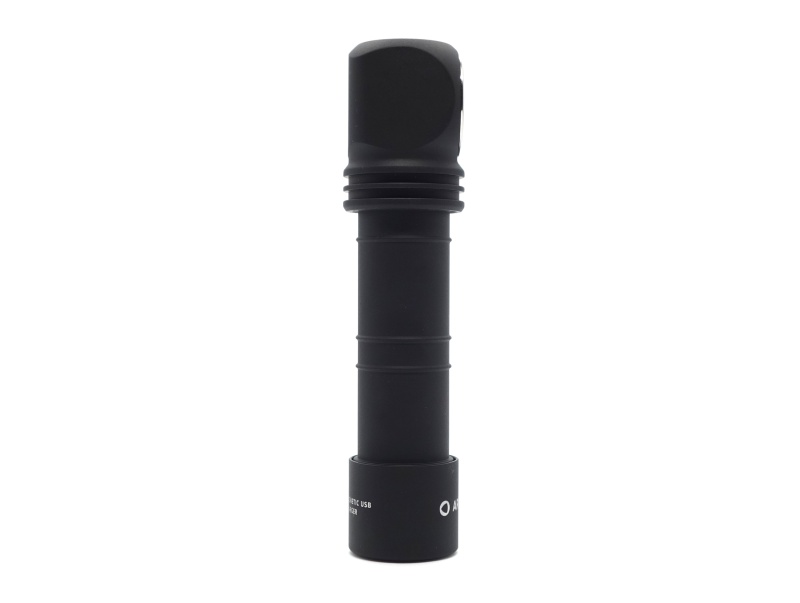
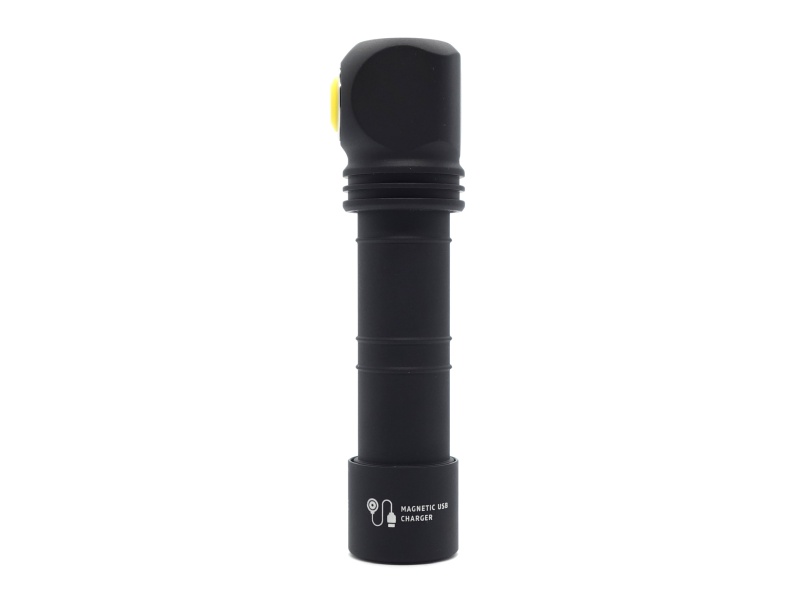
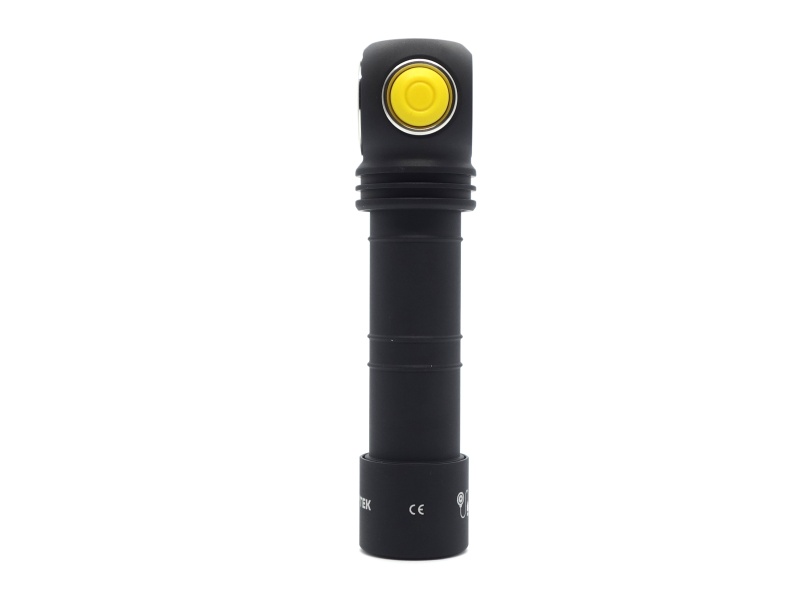
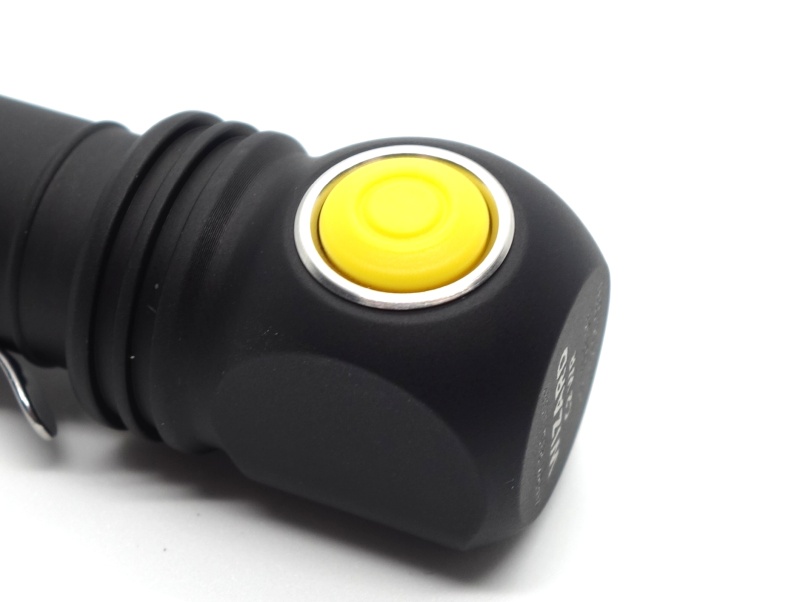
The button feels firm and it gives a satisfying click.
The unanodised threads came lubricated. They get dirty over time.
There are two o-rings to help improve water resistance.
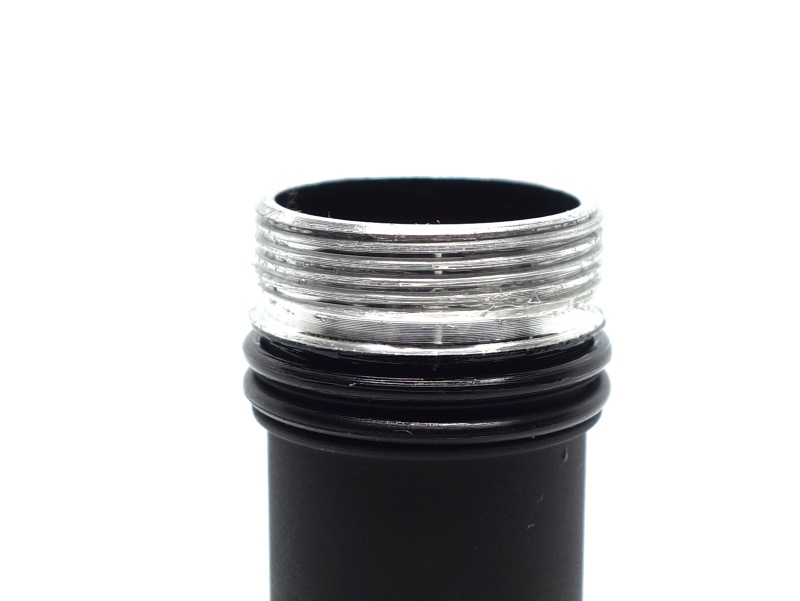
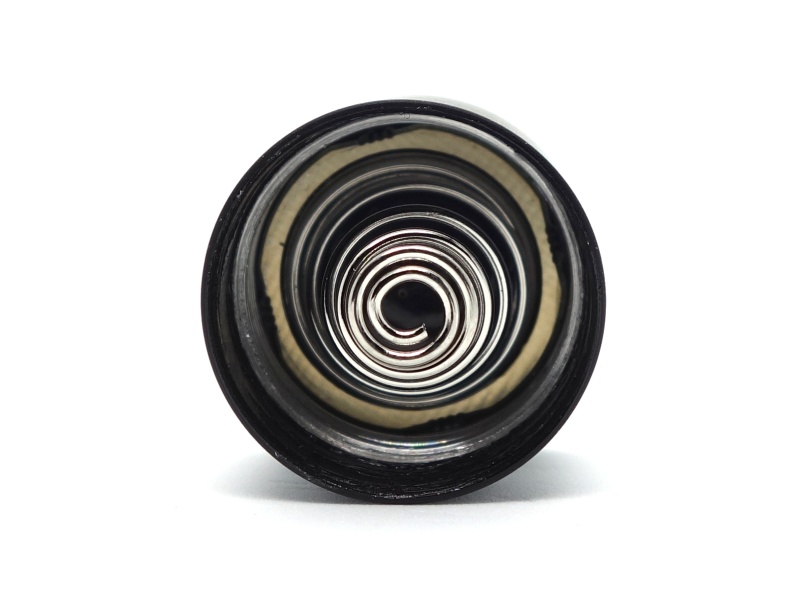
The large spring in the tailcap helps prevent a flat top 18650 cell from rattling around. I found that it takes more effort to get the tailcap on when using a longer button top protected 18650 cell.
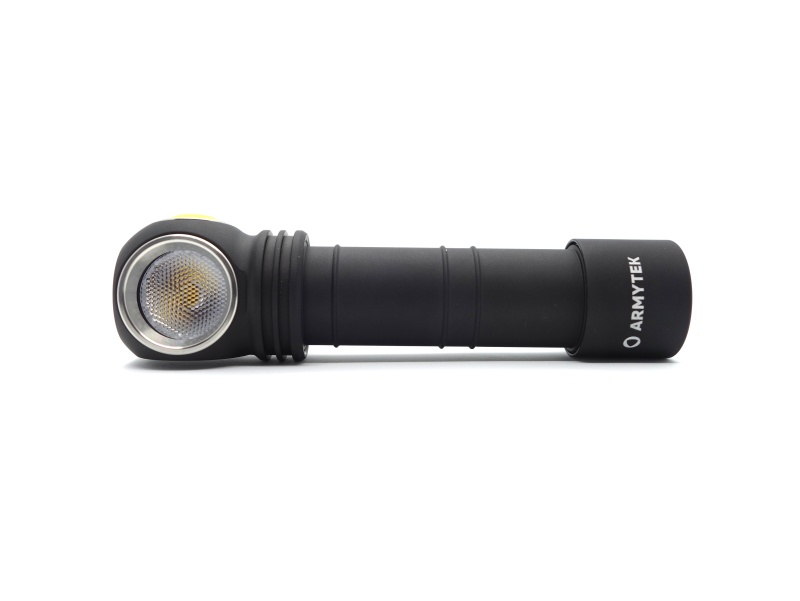
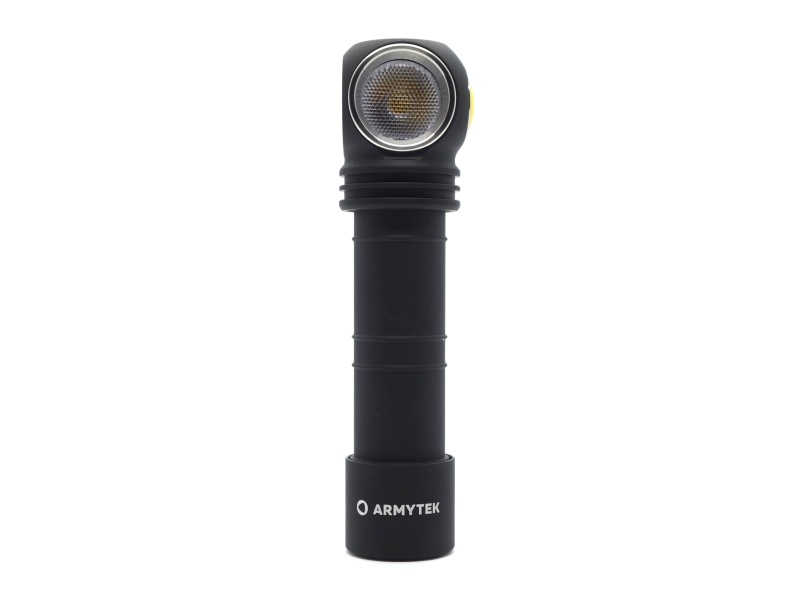
LED, bezel, lens, reflector and beam#
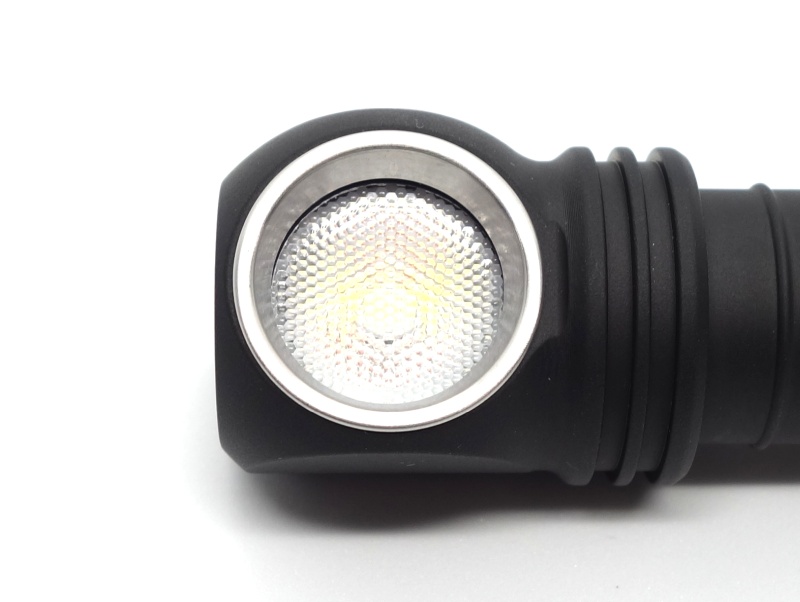
The Armytek Wizard C2 WR has 2*XD16 (white) and 2*XQE (red) emitters.
A stainless steel bezel has been press fit onto a pebble TIR optic.
CCT, CRI, and duv#
I have taken Correlated Colour Temperature (CCT) and Colour Rendering Index (CRI, RA of R1-R8) measurements with the torch positioned one metre away from an Opple Light Master Pro III (G3).
The CCT is around 4000K. The CRI is around 80.
The Delta u, v is slighty positive (green) on Main1 and Main2, and closer to pure white on Turbo.
There is a hint of green around the edges on Main1 and Main2 if I compare it with a Nichia 519A 4000K domed. But I find it hard to notice any hint of green without comparing it side by side with another beam that is almost pure white.
The beam produced is very floody. It has a smooth hot spot. I really like the warm tint!
I actually prefer this tint over the Armytek Wizard C2 Pro Nichia 144AR 4500K. If you want a higher CRI then the Nichia 144AR is the way to go.
| Mode | CCT (K) | CRI (Ra) | x | y | Duv |
|---|---|---|---|---|---|
| Main1 | 3841 | 81.2 | 0.3903 | 0.3889 | 0.0028 |
| Main2 | 3935 | 80.3 | 0.3855 | 0.3853 | 0.0025 |
| Turbo | 4297 | 78.2 | 0.3691 | 0.3720 | 0.0013 |
Calculate Duv from CIE 1931 xy coordinates
Dimensions and size comparison#
Dimensions#
I took the following measurements using a digital caliper.
| Measurement | Unit (mm) |
|---|---|
| Length | 112.20 |
| Head width | 29.00 |
| Head depth | 24.76 |
| Tube diameter | 20.45 |
| Tail diameter | 24.52 |
Weight#
I took the following measurements using a digital scale.
| Weight | Unit (g) |
|---|---|
| Torch | 63.52 |
| Headband | 53.77 |
| Battery | 45.40 |
| Torch with headband | 117.29 |
| Torch with battery | 108.92 |
| Torch with headband and battery | 162.69 |
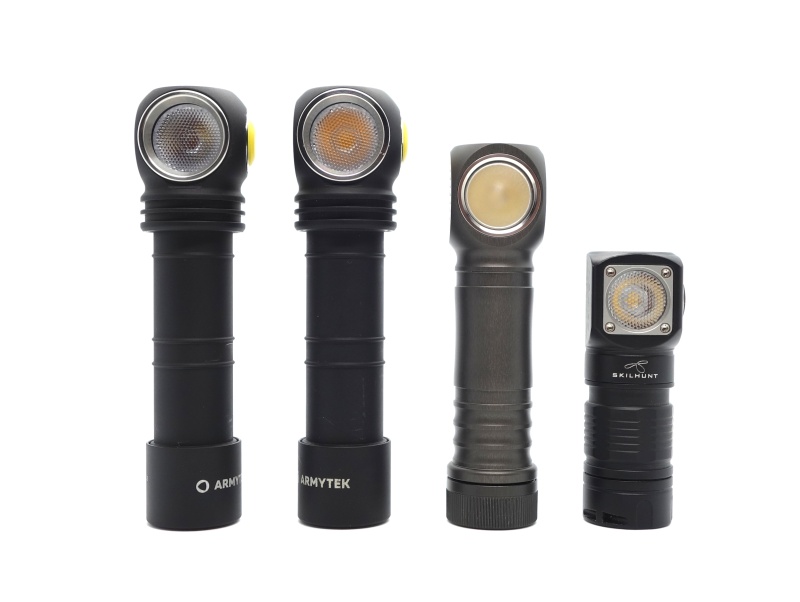
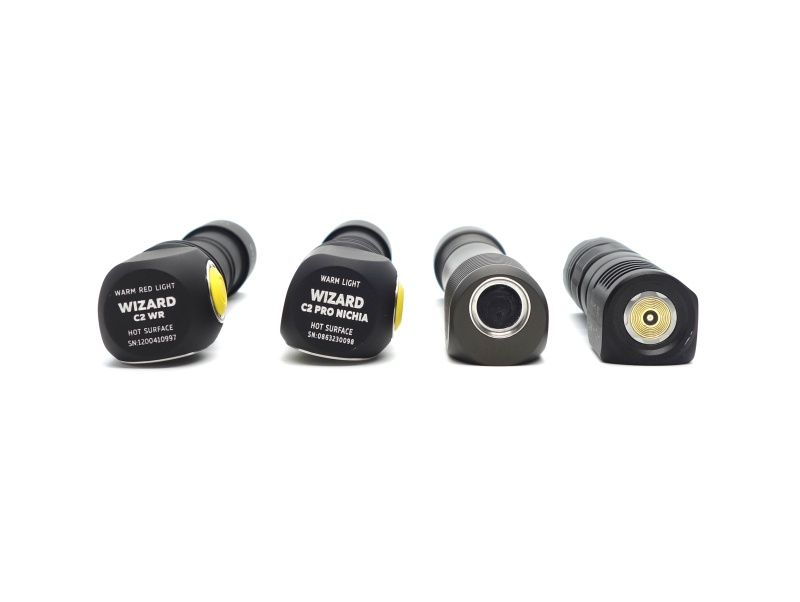
Size comparison with its competition#
From left to right: Armytek Wizard C2 WR, Armytek Wizard C2 Pro Nichia, ZebraLight H600Fc Mk IV, Skilhunt H04 RC Mini
From left to right: Armytek Wizard C2 WR, Armytek Wizard C2 Pro Nichia, ZebraLight H600Fc Mk IV, Skilhunt H04 RC Mini
User interface#
The headlamp has a single switch to control the white and red emitters.
There are three levels in the main group: Main1, Main2 and Turbo.
| State | Action | Result |
|---|---|---|
| Any | Two clicks | Change between white and red emitters |
| Off | Click | On (mode memory) |
| Off | Press and hold | On (firefly) |
| On | Click | Off |
| On | Press and hold | Cycle (Main1, Main2, Turbo) |
| Firefly | Press and hold | Cycle (Main1, Main2, Turbo) |
The last used mode for white or red is memorised when turning the headlamp off or when changing between white and red emitters.
Strobe#
1 Hz strobe in red or white.
Strobe can be added or removed from the main cycle group:
- Press and hold the button to turn the light on and cycle through the main group;
- Unscrew the tailcap 1/4 turn and screw it back on to temporarily turn the headlamp off;
- Continue to hold the button and observe whether Strobe has been added or removed while the main group cycles.
Lock out#
There is no electronic lock out mode. The tailcap can be turned 1/4 to physically lock out the headlamp.
Low voltage protection#
There is low voltage protection.
The white emitters dropped to Firefly at 2.8V, turned off at 2.7V and the current cut out.
The red emitters dropped to Firefly at 2.78V, turned off at 2.72V and the current cut out.
I tested low voltage protection by connecting the driver of the torch to a bench power supply and then by lowering the voltage from 4.2V to 0V.
PWM#
I did not notice any visible PWM (flickering).
What I like about the UI#
- Shortcut to Firefly from off.
- Simple to use.
What could be improved#
- A shortcut to Turbo from off would be nice.
- A Low mode with about 20 to 50 lumens would be nice.
- Adding and removing Strobe from the main group is a bit difficult.
Batteries and charging#
Battery#
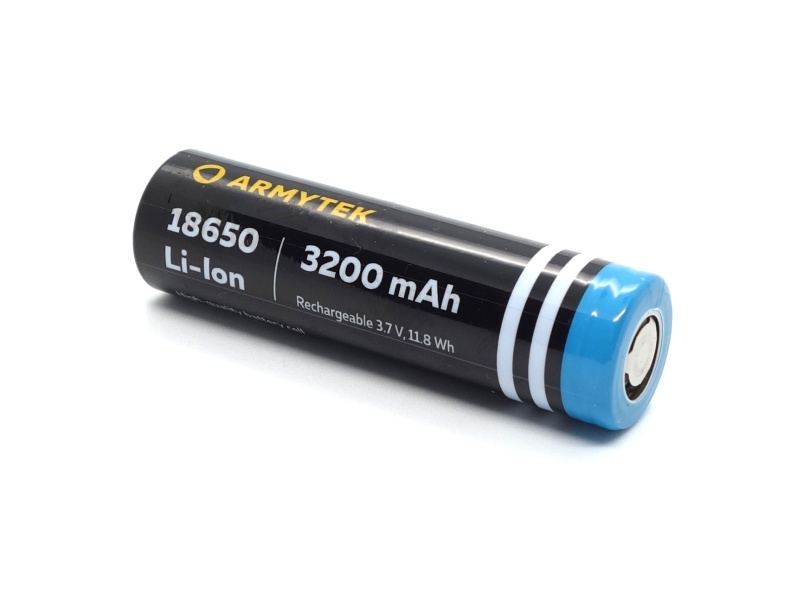
An Armytek 18650 3.7V Li-ion 3200mAh cell was included. It arrived with a voltage of 3.50V.
I tried the following cells:
| Cell | Top | Compatible? |
|---|---|---|
| Armytek 18650 3.7V Li-ion 3200mAh | Flat | Yes |
| Samsung 30Q 18650 3.7V Li-ion 3000mAh | Flat | Yes |
| Protected 18650 3.7V Li-ion 2600mAh | Button | Yes |
Charging#
Power supply: PinePower Desktop USB-A
USB Meter: AVHzY CT-3 (recommended by LiquidRetro)
Room temperature: 15 C
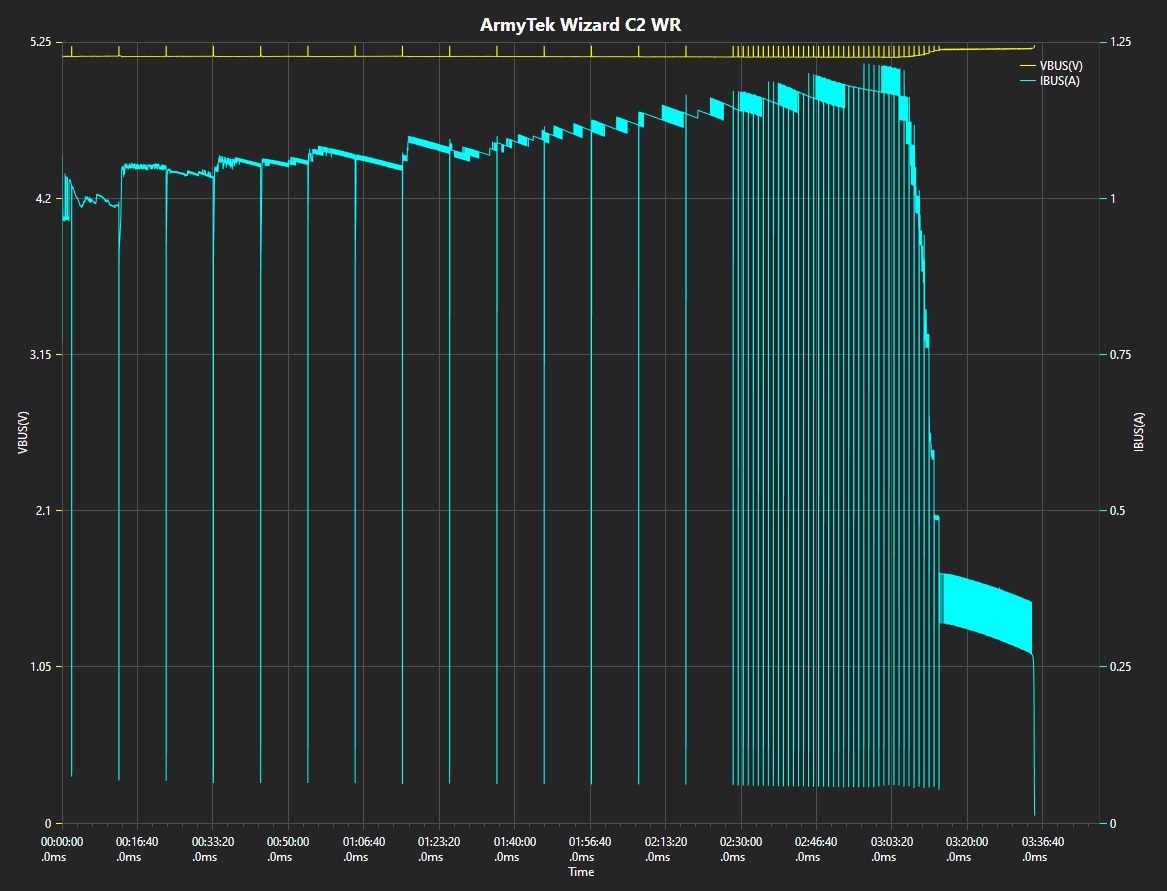
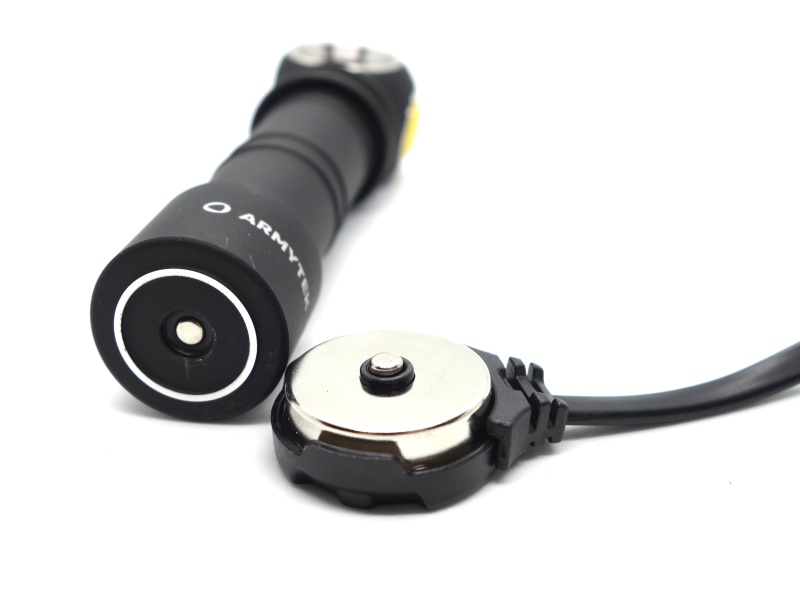
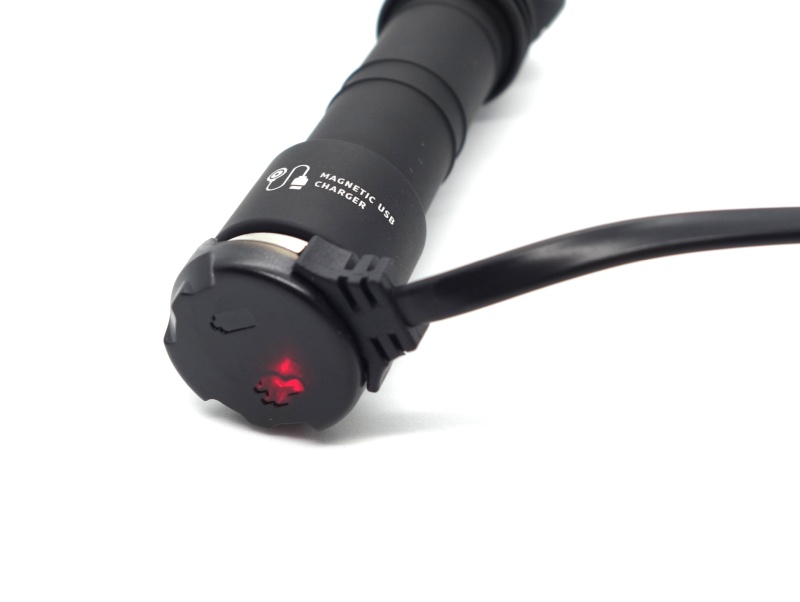
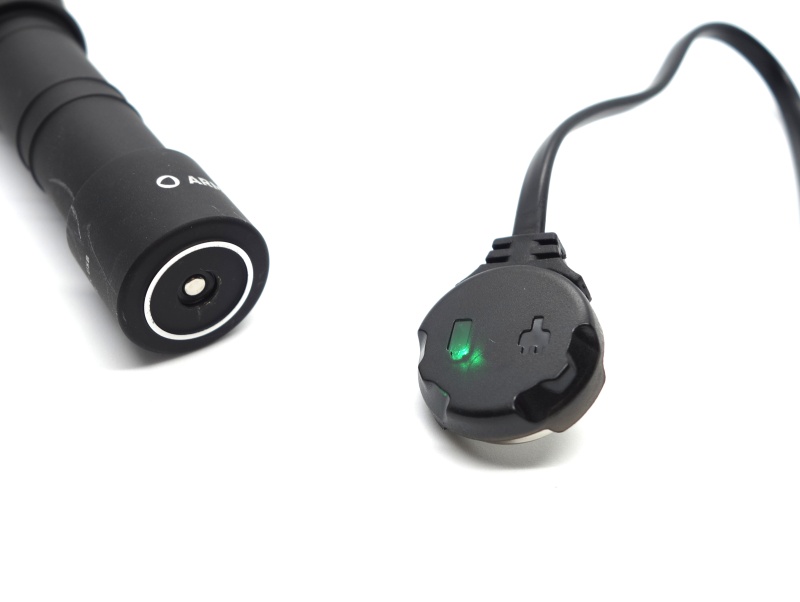
The tailcap needs to be unscrewed slighty (1/4th of a turn) and then the magnetic charging cable needs to be attached to the tailcap to start charging the cell inside the headlamp.
I charged the cell with the included magnetic charger from 3.02V to 4.16V. Charging completed after 3 hours 36 minutes. The charging rate was approximately 5V 1.2A.
Charging status indicator#
The charging indicator in the magnetic charger went red while charging and it went green when charging was complete.
When the charger is connected:
| Colour | Status |
|---|---|
| Green blinking | Evaluation of battery voltage. |
| Red blinking | Unscrew the tailcap to 1/4 for charging. |
| Orange blinking | USB power source voltage is too low for correct continuation of charging or bad contact between charger and battery. Clean the tailcap and the threads of the flashlight parts, use a different power source. |
| Red | Charging with rated charging current is going on. |
| Orange | USB power source voltage is too low, charging current may be reduced. |
| Green | Charging is finished. |
Power supply compatibility#
I tried the following power supplies with the USB-A magnetic charging cable:
| Power supply | USB Type | Protocol | Does it charge? |
|---|---|---|---|
| PinePower Desktop | USB-A | QC | Yes |
| PinePower Desktop | USB-A | Yes |
Performance#
Specifications from the box and online user manual:
White:
| ANSI / NEMA FL1 | Turbo | Main2 | Main1 | Firefly | Strobe |
|---|---|---|---|---|---|
| Output (lumens) | 1,020 | 380 | 120 | 0.5 | 380 |
| Runtime | 2h 30min (480lm after 90 sec) | 4h | 13h | 65d | 17h |
| Beam Distance (metres) | 97 | ||||
| Beam Intensity (cd) | 2,400 |
Red:
| ANSI / NEMA FL1 | Turbo | Main2 | Main1 | Firefly | Strobe |
|---|---|---|---|---|---|
| Output (lumens) | 230 | 72 | 18 | 0.1 | 230 |
| Runtime | 3h (160lm after 7min) | 13h | 46h | 65d | 9h 20min |
| Beam Distance (metres) | 41 | ||||
| Beam Intensity (cd) | 430 |
Lumen measurements#
I used a UNI-T UT210E clamp meter to measure the current at turn on.
| LED | Mode | Amps at start | Specs | Lumens @turn on | Lumens @30 sec | Lumens @10 min |
|---|---|---|---|---|---|---|
| Red | Main1 | 0.05 A | 18 | 37 | 37 | 37 |
| Red | Main2 | 0.23 A | 72 | 160 | 159 | 160 |
| Red | Turbo | 1.46 A | 230 | 621 | 641 | 458 |
| White | Main1 | 0.20 A | 120 | 130 | 128 | 126 |
| White | Main2 | 0.78 A | 380 | 407 | 394 | 378 |
| White | Turbo | 3.87 A | 1,100 | 1,210 | 1,016 | 473 |
My DIY lumen tube has not been calibrated for red light. The output for red may be higher than expected.
Standby drain#
11.9 µA.
Runtime graphs#
I used my own DIY lumen tube with a TSL2591 sensor and forked bmengineer’s project RuTiTe to record runtimes.
Note: Lumen measurements may be off by 10% with my DIY lumen tube.
The room temperature was approximately 15 C.
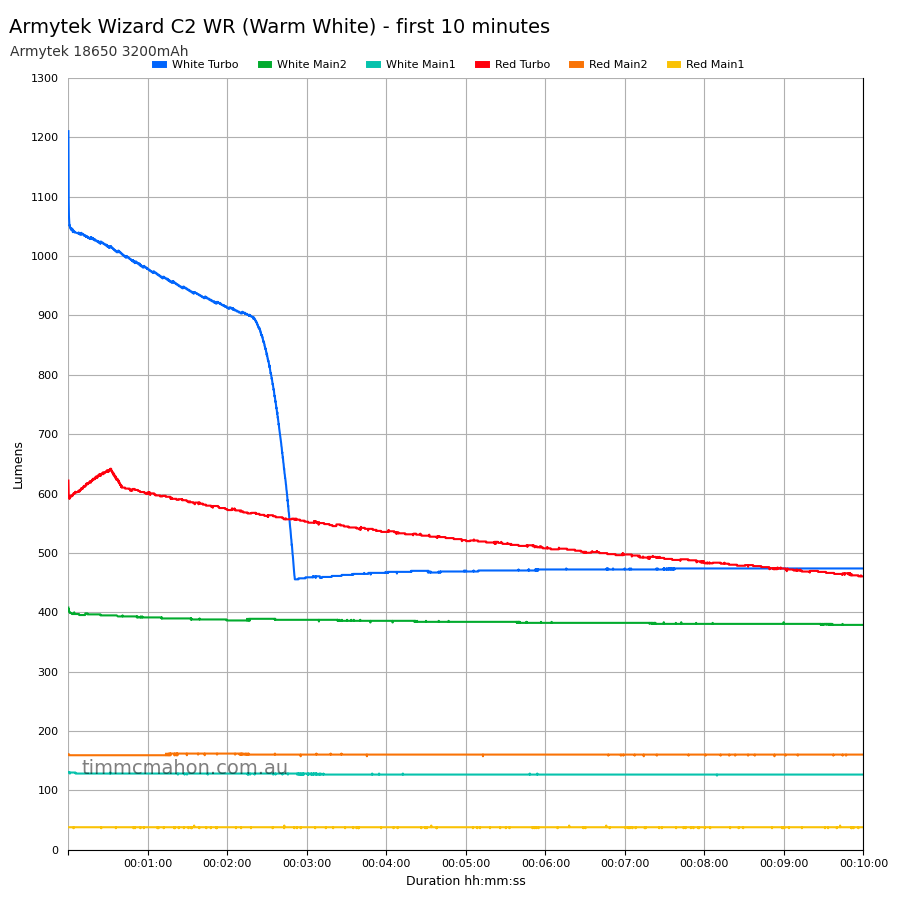
Runtime#
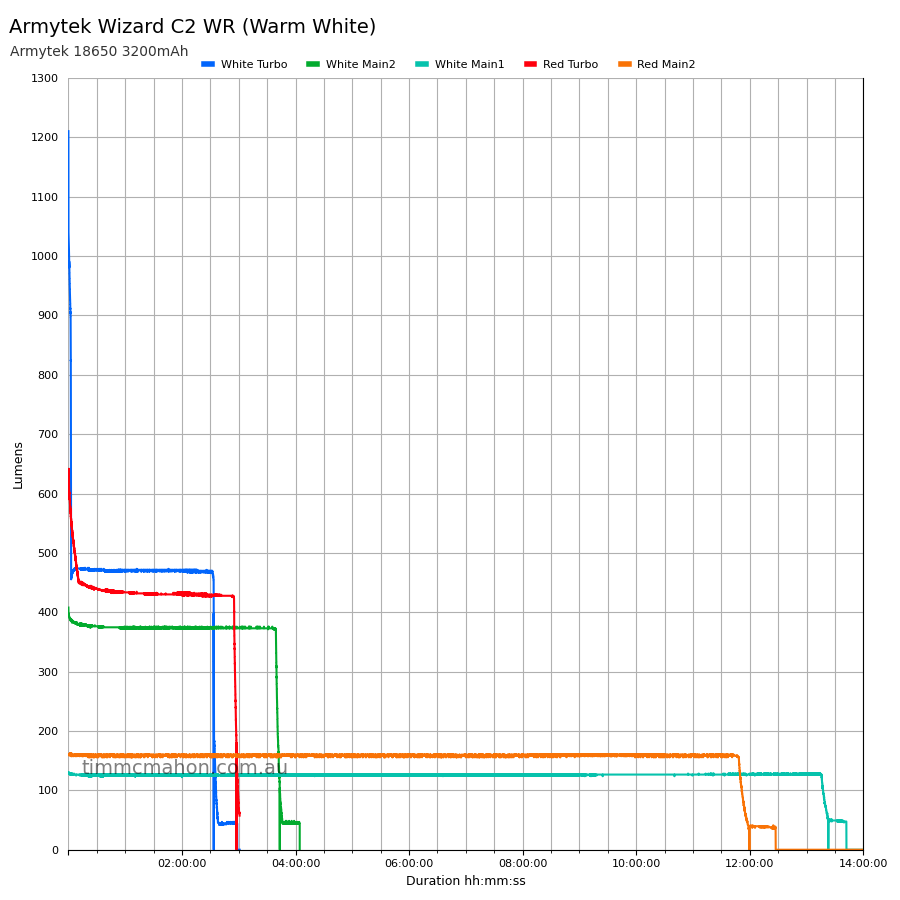
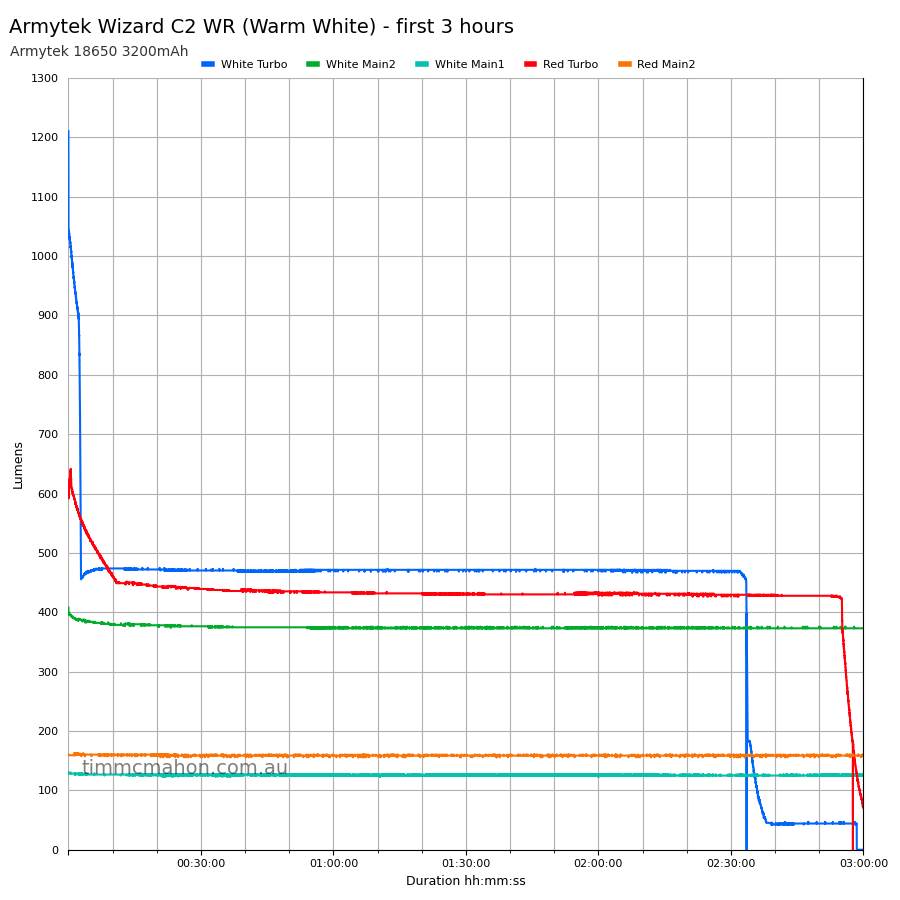
Here is a summary of the runtime results:
| LED | Mode | User manual | Runtime | Turn off | Final voltage |
|---|---|---|---|---|---|
| White | Turbo | 2h 30min | 2h 35min 53s | 3h+ | 2.94 |
| White | Main2 | 4h | 4h 4min 23s | 4h 4min 23s | 3.02 |
| White | Main1 | 13h | 13h 42min 4s | 14h+ | 3.07 |
| Red | Turbo | 3h | 3h 0min 0s | 3h+ | 2.90 |
| Red | Main2 | 13h | 12h 27min 16s | 14h+ | 3.01 |
| Red | Main1 | 46h | 10min+ | 10min+ |
“Runtime” is the time until the output reduces to 10% of the output at 30 seconds (as per the ANSI/PLATO FL1 2019 Standard).
“Turn off” is the time until my DIY lumen tube no longer detects more than 1 lumen.
“+” indicates that the light remained on after recording had stopped.
I stopped recording after 10 minutes for the Red Main1 mode.
The sustained output is impressive. My runtime results were very similar to Armytek’s results.
Throw#
I took lux measurements with a UNI-T UT383BT at 30 seconds. Main1, Main2 and Turbo were measured at five metres.
| LED | Mode | Specs (cd) | Specs (m) | Candela measured (cd) | Distance (m) |
|---|---|---|---|---|---|
| Red | Turbo | 430 | 41 | 950 | 61 |
| White | Main1 | 325 | 36 | ||
| White | Main2 | 1,325 | 72 | ||
| White | Turbo | 2,400 | 97 | 3,775 | 122 |
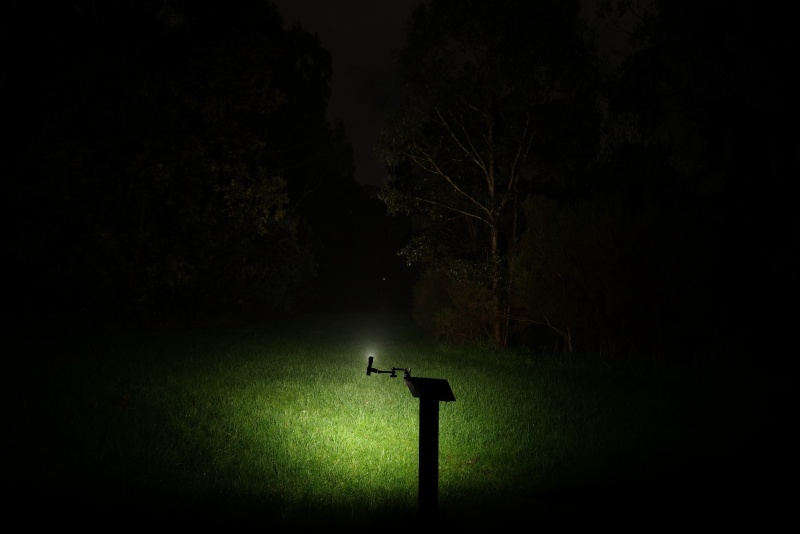
Beamshots#
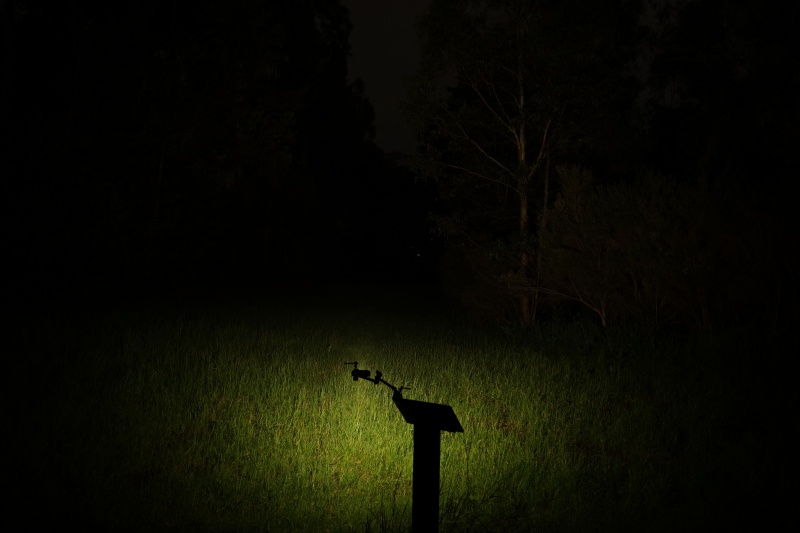
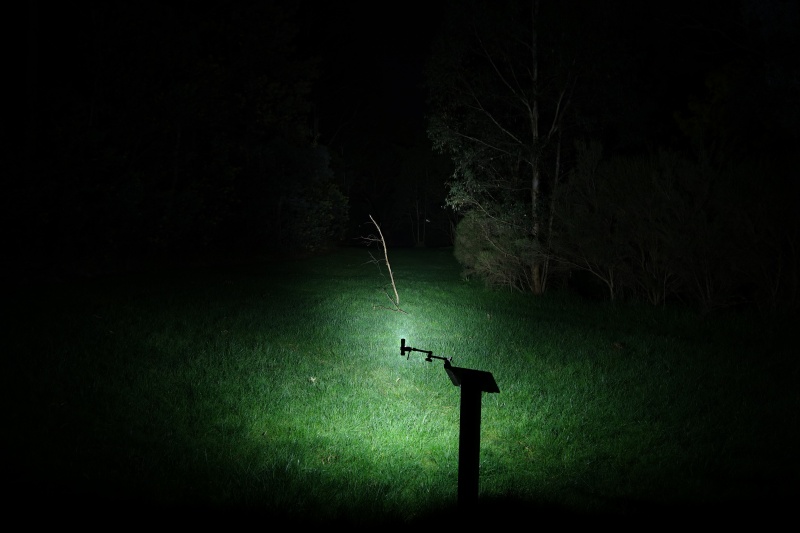
I went to a local park and aimed the Armytek Wizard C2 WR at a tree 70 metres away while using Turbo.
Beamshots were taken using a Sony RX100M2 using 3.2", f3.2, ISO 100, 5000K WB.
Armytek Wizard C2 WR (Turbo)#
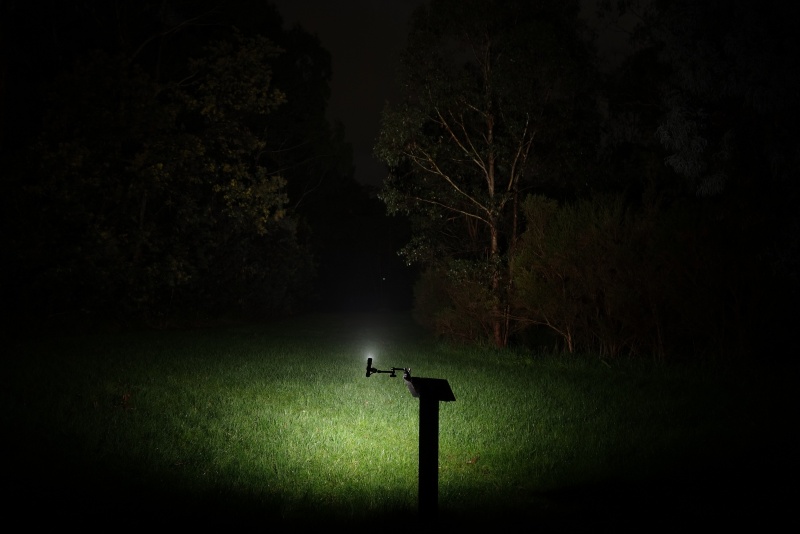
Armytek Wizard C2 Pro Nichia (Turbo)#
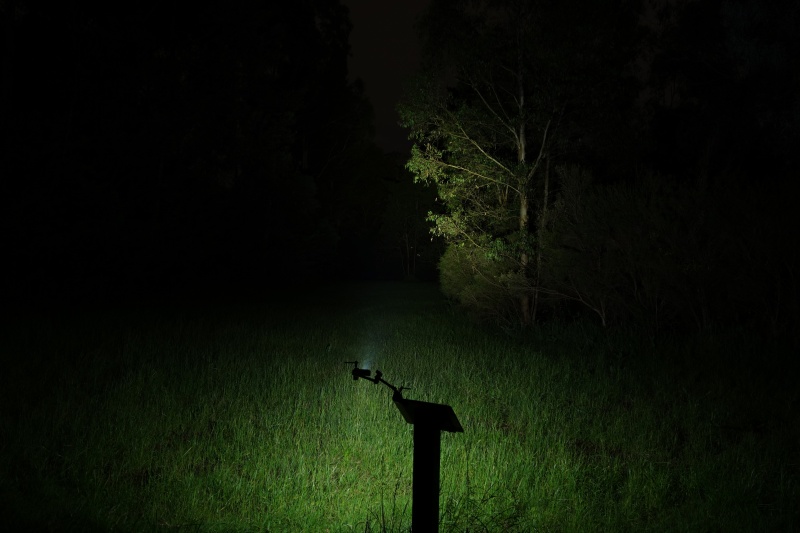
Cyansky HS6R Spot (Turbo)#
Cyansky HS6R Flood (High)#
Cyansky HS5R#
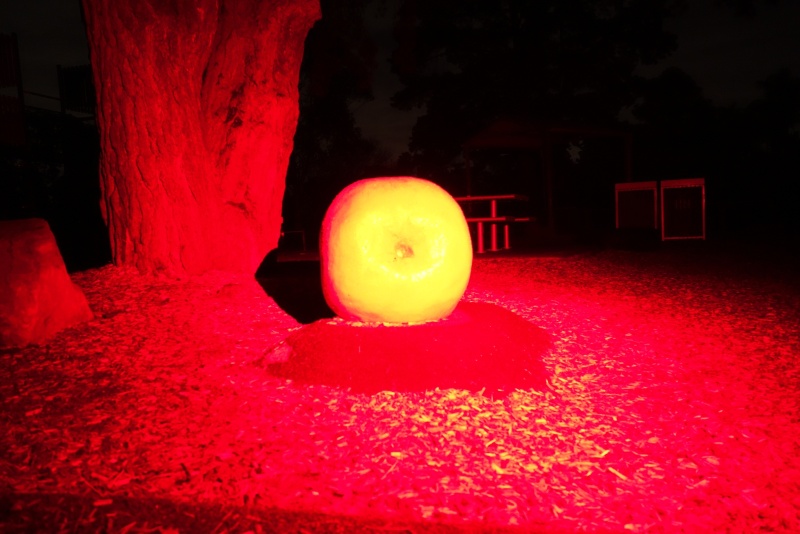
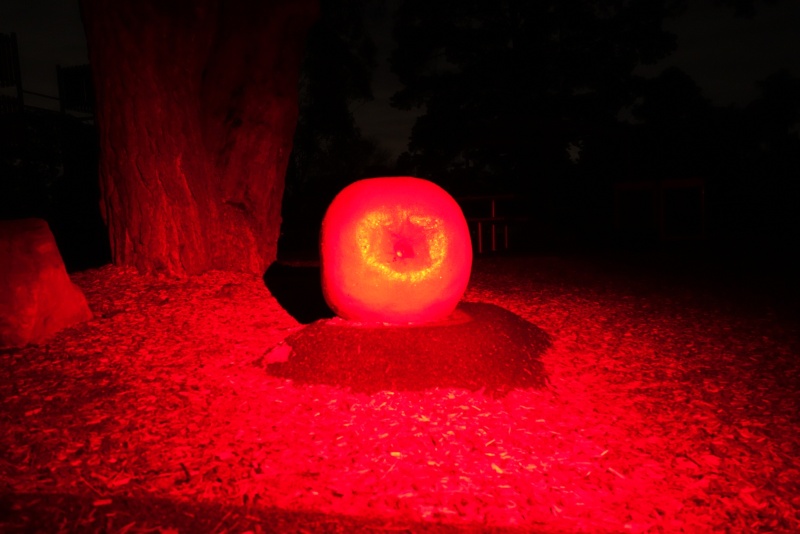
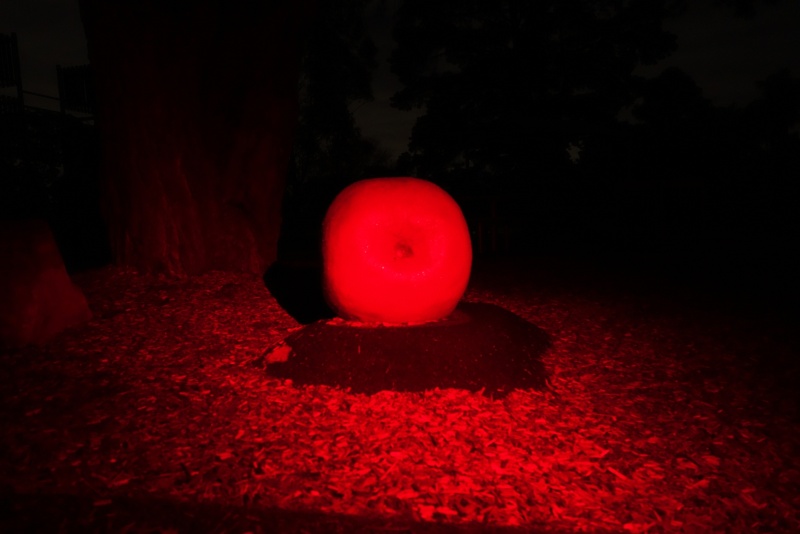
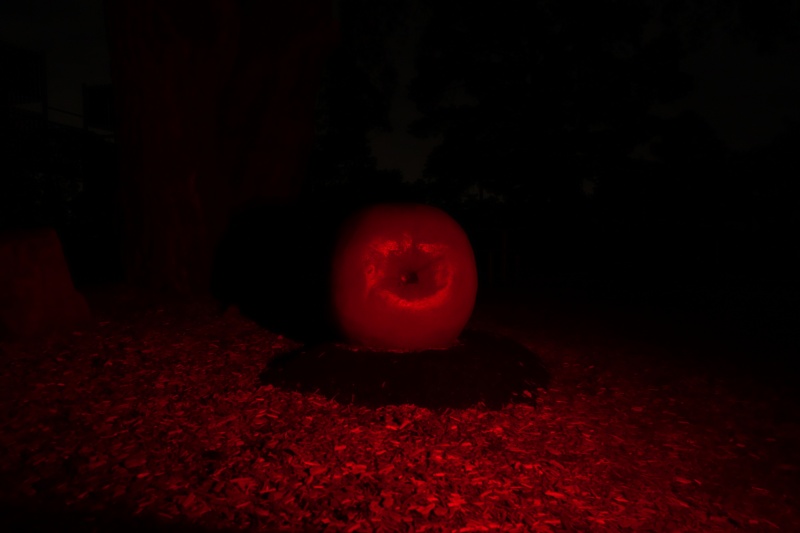
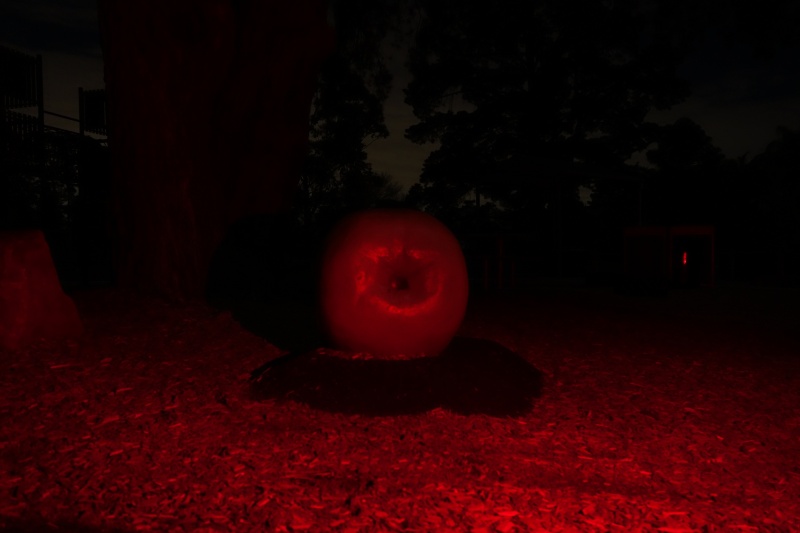
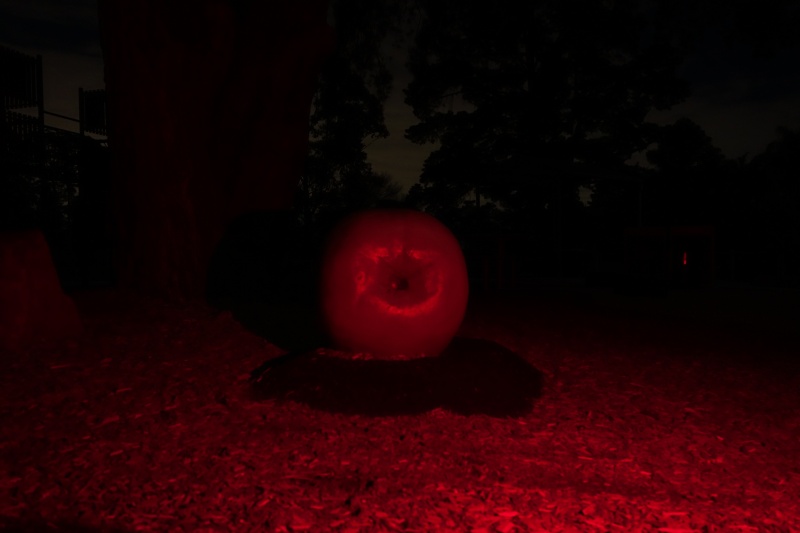
I later visited a playground and aimed the headlamp at a big apple approximately 2 meters away while using the red emitters.
Red beamshots were taken using a Sony RX100M2 using 1/2.5", f3.2, ISO 800, 5000K WB.
Armytek Wizard C2 WR (Red Turbo)#
Armytek Wizard C2 WR (Red Main2)#
Armytek Wizard C2 WR (Red Main1)#
Cyansky HS6R#
Cyansky HS5R#
ZebraLight H502pr#
Conclusion#
The Armytek Wizard C2 WR (Warm Light) is an impressive headlamp. I will be reaching for this when going out for hours at night.
I like the 4000K colour temperature and the tint of the floody beam. The CRI is a little low at 80. An Armytek Wizard C2 Pro Nichia 144AR 3000K might be a better option for people looking for a warmer beam to cut through fog at night while having a high CRI.
The headband is comfortable to wear and the design of the mount makes it easier to take the headlamp out and put it back in.
Magnetic charging is pretty convenient. But I find it annoying that the tailcap needs to be unscrewed a 1/4 turn to allow the magnetic charger to work. With other magnetic charging systems, you can just connect the magnetic charger and it starts charging.
It is nice to see 5 modes (Firefly, Main1, Main2, Turbo, Strobe) for the red emitters in this headlamp. Often headlamps with a red emitter have one or two modes a best.
I think that the white emitters need an extra Low mode of 20 to 50 lumens. There is quite a jump from Firefly to Main1. That said, a 14 hour+ runtime for Main1 is more than enough for a night.
The sustained light output is impressive. It could be even better if Armytek included an 18650 cell with a 3500mAh capacity instead of 3200mAh. Turbo only pulled about 3.87A so a higher capacity 18650 cell could be used.
Pros:#
- Floody beam.
- Comfortable headband.
- Magnetic charging.
- Multiple Red output levels.
- Good runtimes with sustained output.
Cons:#
- Relatively low CRI of 80.
- Mode spacing (add a Low mode?).
- Unscrew tailcap 1/4 turn to charge.
Price#
The Armytek Wizard C2 WR is AU$124 from liteshop.com.au at the time of writing.
At this price point I would also recommend headlamps from ZebraLight.
Product page#
Promo code: TorchHacker
liteshop.com.au affiliate link
I may earn a commission if you use an affiliate link or a promo code. This will help fund future torch reviews and tutorials.