Binbok EVO Pro Controller Review and Teardown

Binbok EVO Pro Controller#
Introduction#
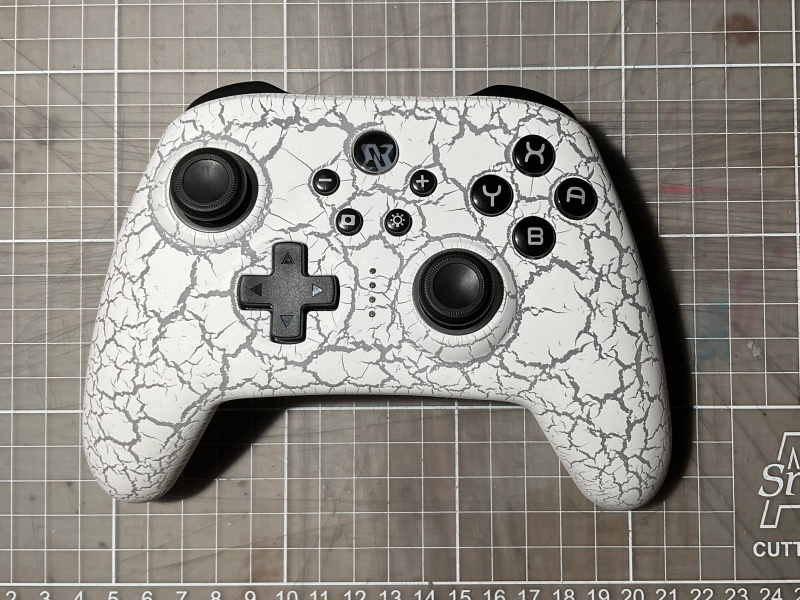
Binbok recently hosted a giveaway on social media and I was one of the lucky winners to receive a white EVO Pro Controller.
Here is a short review and teardown of the Binbok EVO Pro Controller for the Nintendo Switch.
The controller has been sent for free. I have not been paid for this teardown or review.
Review#
I have also published a short video where I go over some some new features and some differences between the Binbok EVO Pro Controller and the Nintendo Switch Pro controller:
Teardown#
Note: This may void your warranty.
Tools used#
- Phillips screwdriver PH0
- Small pliers
- Tweezers
Steps#
1. Remove six screws from the back.


2. Lift the back cover off. It pulls up without much resistance.
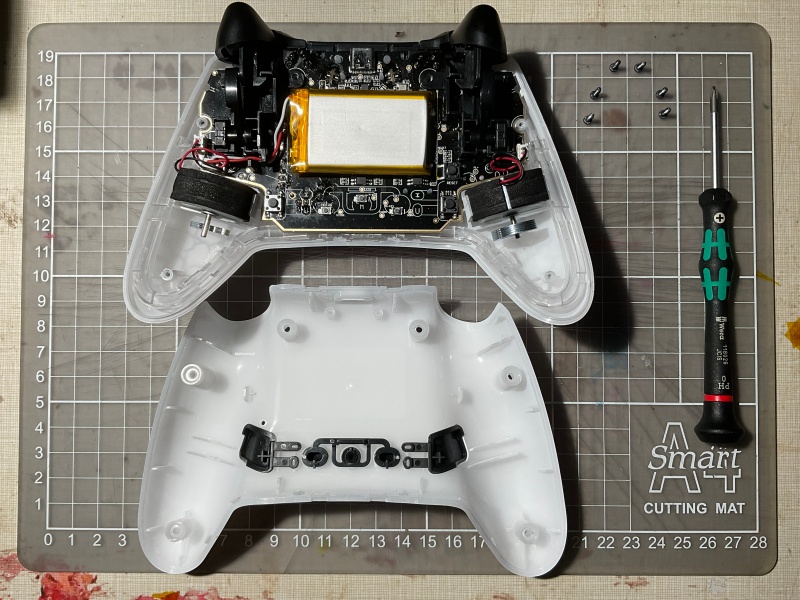
3. Unplug the battery and unplug the rumble motors. Peel the battery up carefully. The adhesive is sticky and lifts easily off the PCB. I was a bit worried about being able to put the battery back, but the adhesive is sufficiently sticky to re-install it.
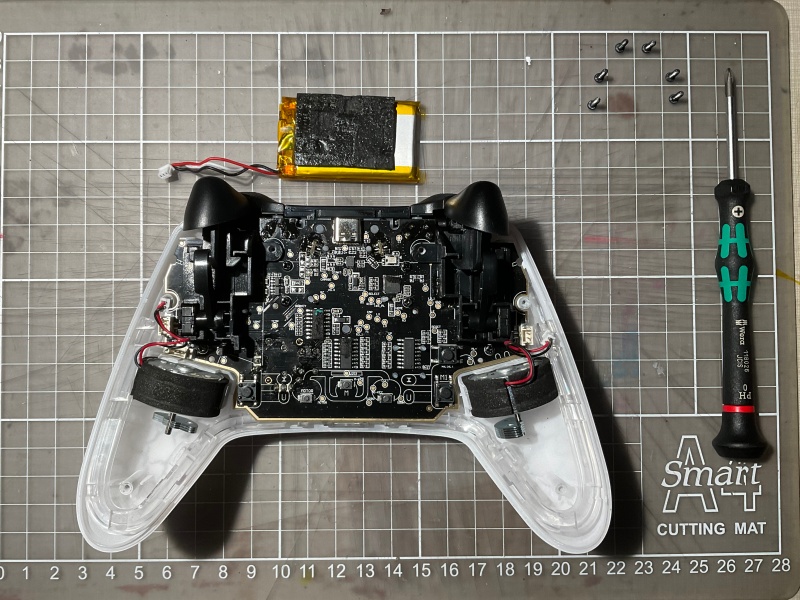
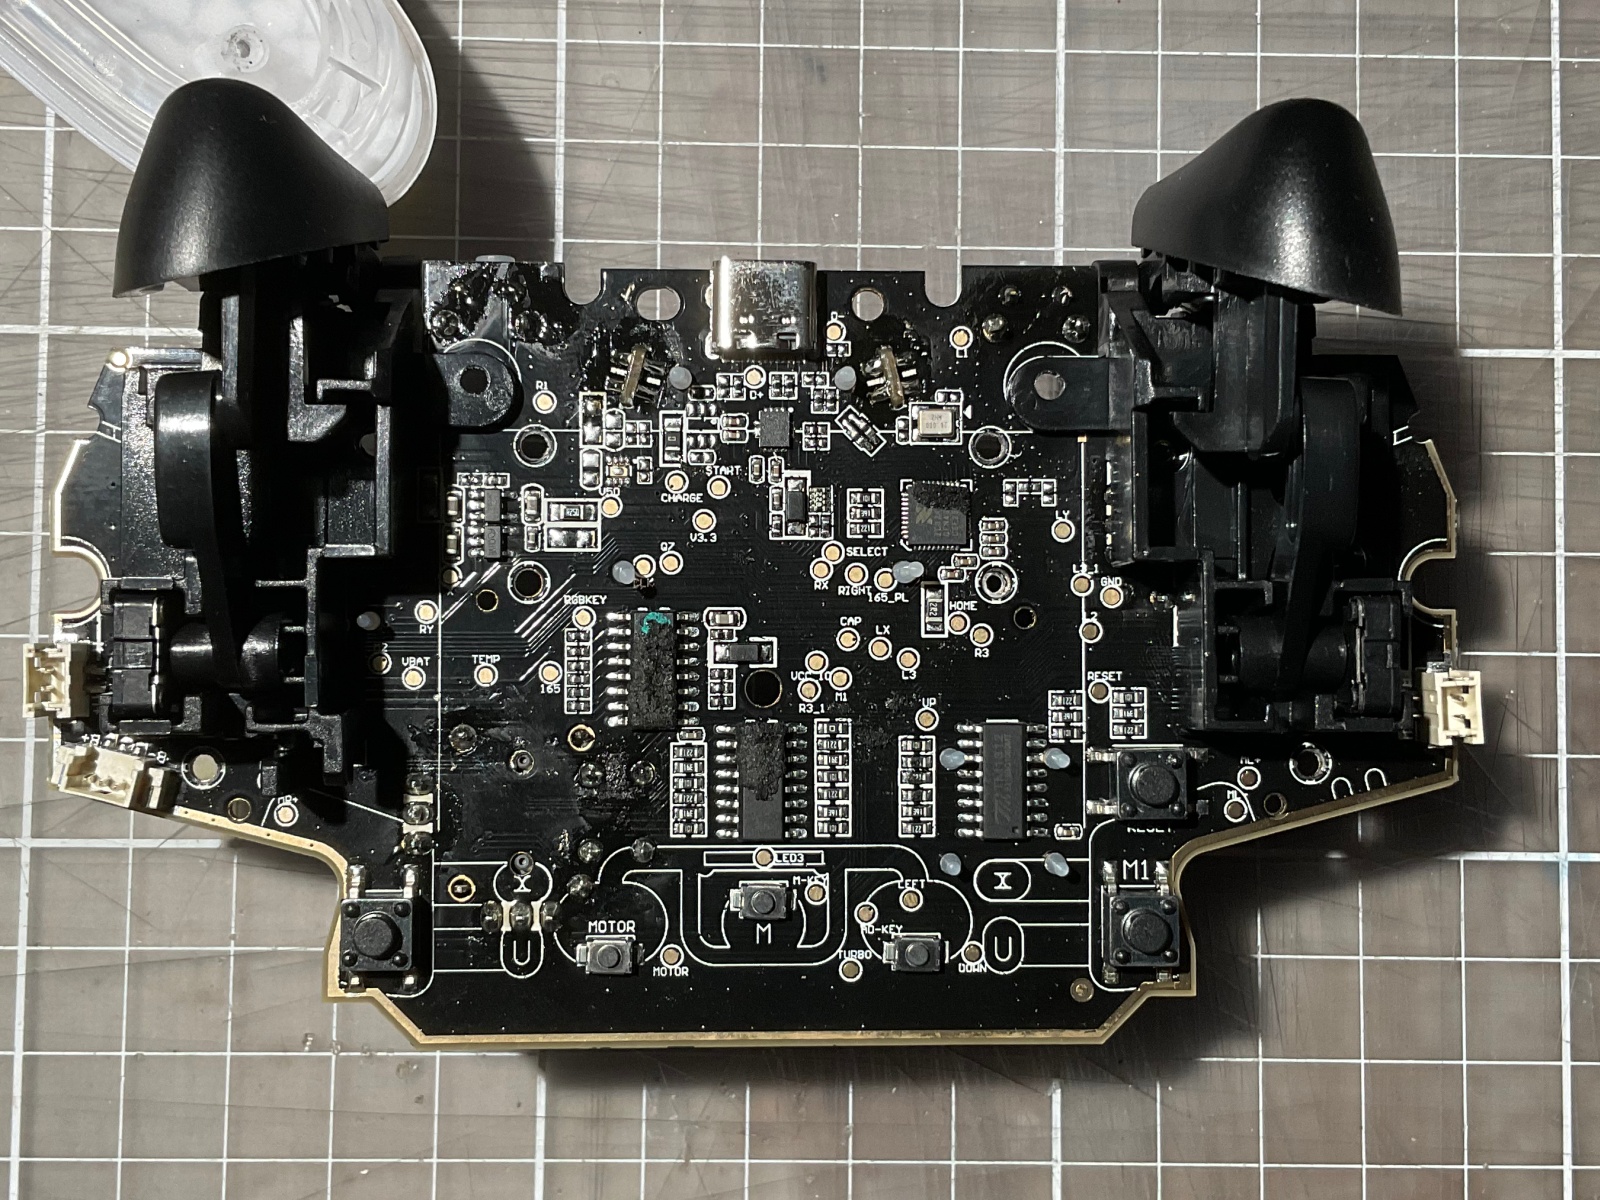
4. Remove six screws from the PCB. Four screws are near the middle of the PCB while two screws are hidden away near the motors.
5. Lift the PCB out.
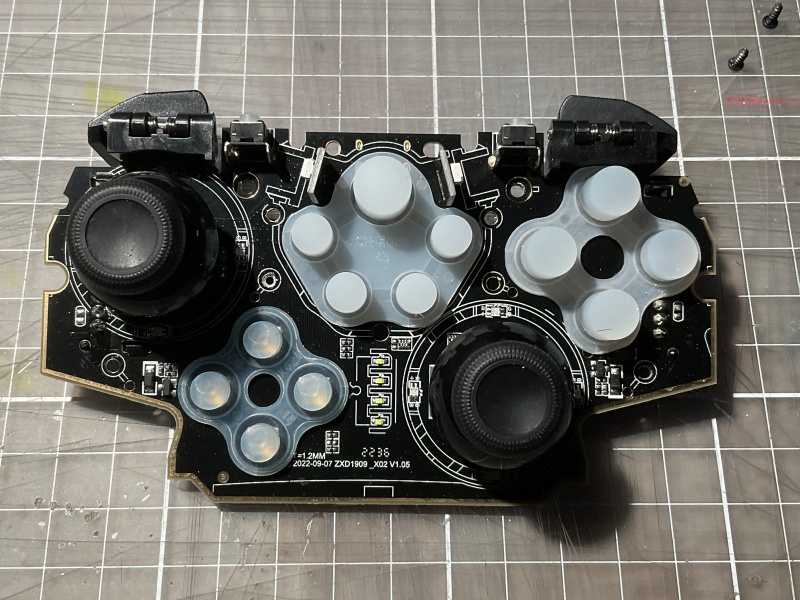
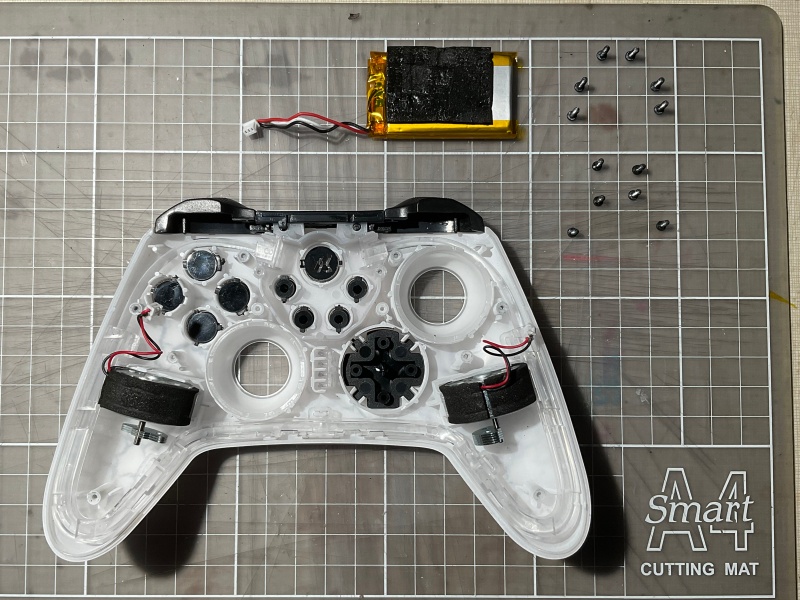
6. Pull the silicone button covers out. They each have little inserts that can be pulled through with tweezers or pliers when re-installing them.
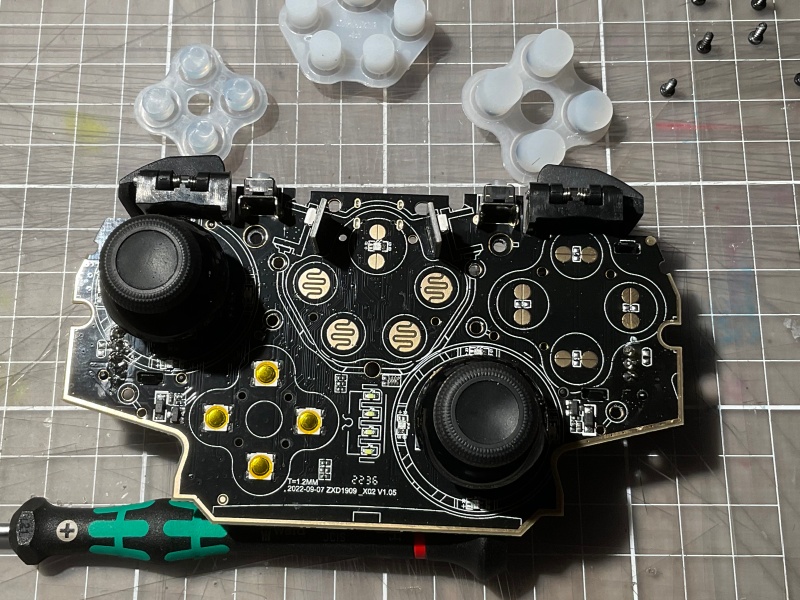
ALPS joysticks.


I put the controller back together and it still works!
Product page#
Visit binbok.com for more information.