Astrolux WL01 Work Light Review

Astrolux WL01#
- Specifications
- Introduction
- Torch in use
- Build quality
- Teardown
- LED, bezel, lens, reflector and beam
- Size and comparison
- User interface
- Batteries and charging
- Performance
- Beamshots
- Conclusion
- Price
- Product page
Specifications#
| Brand/model | Astrolux WL01 |
|---|---|
| LED | Cool White (5500-6000K) COB, Warm White (2600-3000K) COB, 8*Red (620-625nm) |
| Maximum lumens | 1,200 lm |
| Battery | 2*21700 9000mAh built-in |
| Onboard charging | Yes (USB-C) |
| Powerbank | Yes (USB-A) |
| Material | Plastic |
| Modes | 5 |
| Blinkies | Red |
| Review date | July 2024 |
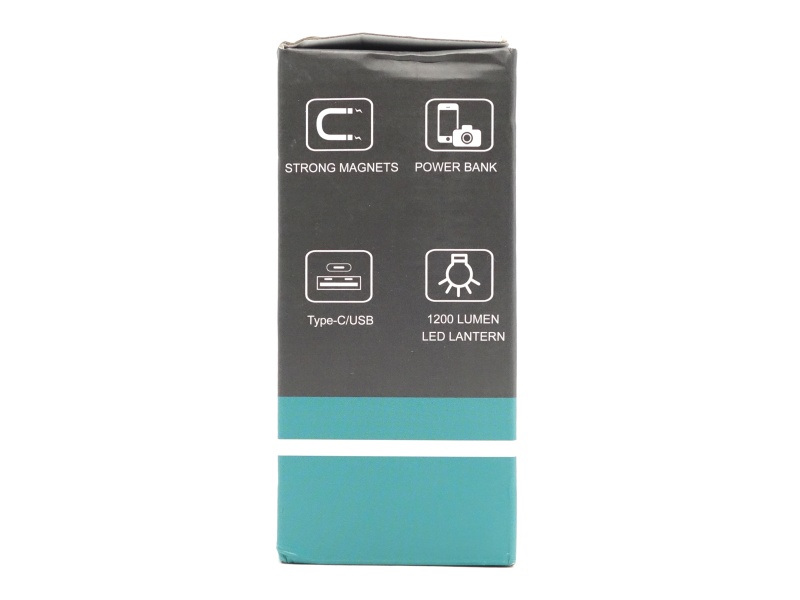
Introduction#
The Astrolux WL01 is a work light with a magnetic base, a tripod hole, a clip, 180 degree swivel, and four emitter options: Cool White (5500-6000K), Warm White (2600-3000K), Neutral White (3800-4200K) and Red (620-625nm). It has two built-in 21700 3.7V Li-ion 4500mAh cells. It can be charged via 5V/2A USB-C. And it has a USB-A 5V/2A powerbank feature.
Astrolux provided this work light for review. I have not been paid for this review nor have I held back my opinions of this work light.
Packaging#
The Astrolux WL01 came in a generic grey and blue box with an image of the work light on the front.
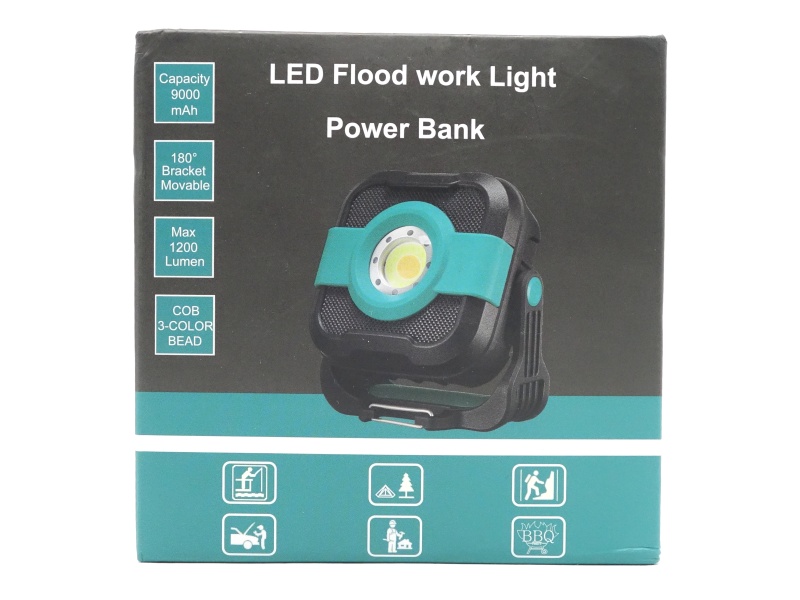
The following was included in the box:
- Astrolux WL01.
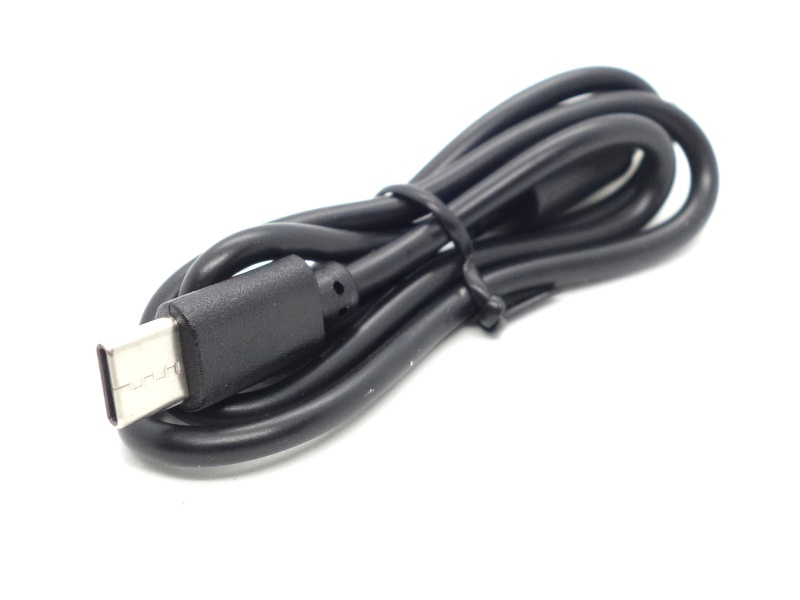
- USB-A to USB-C cable.
- User manual.
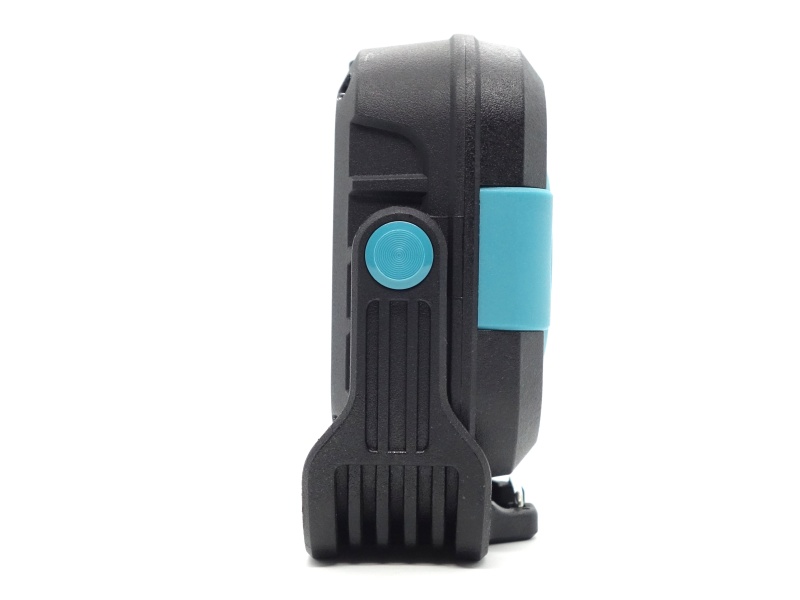
Torch in use#
The Astrolux WL01 Work Light feels pretty solid.
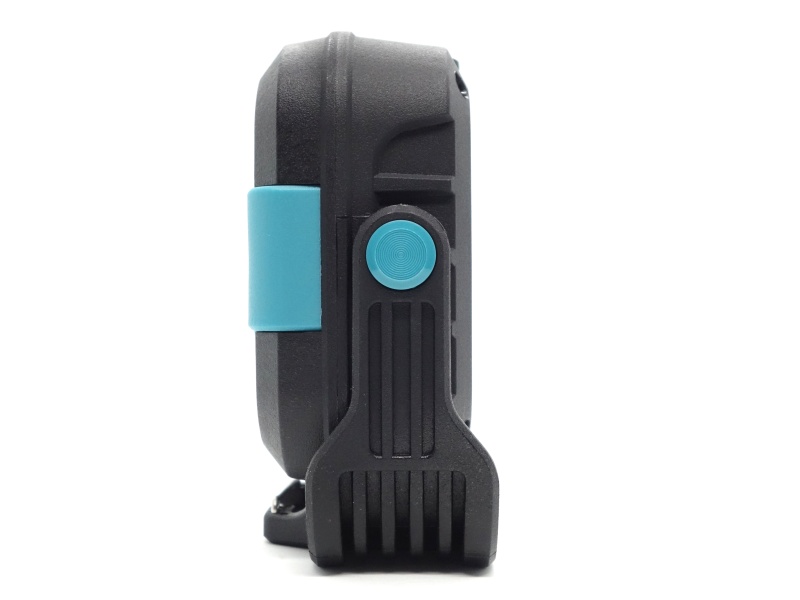
The bracket can swivel 180 degrees.
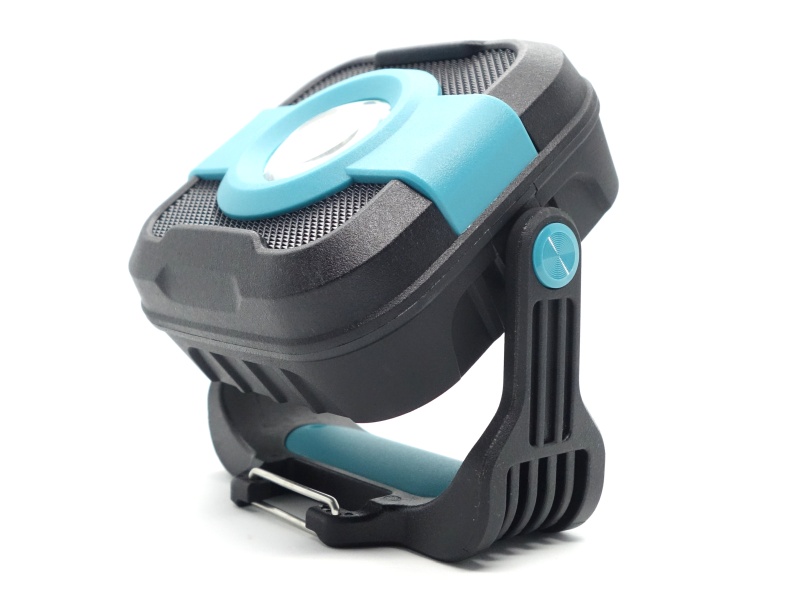
There are strong magnets, a metal tripod hole and a clip at the base.
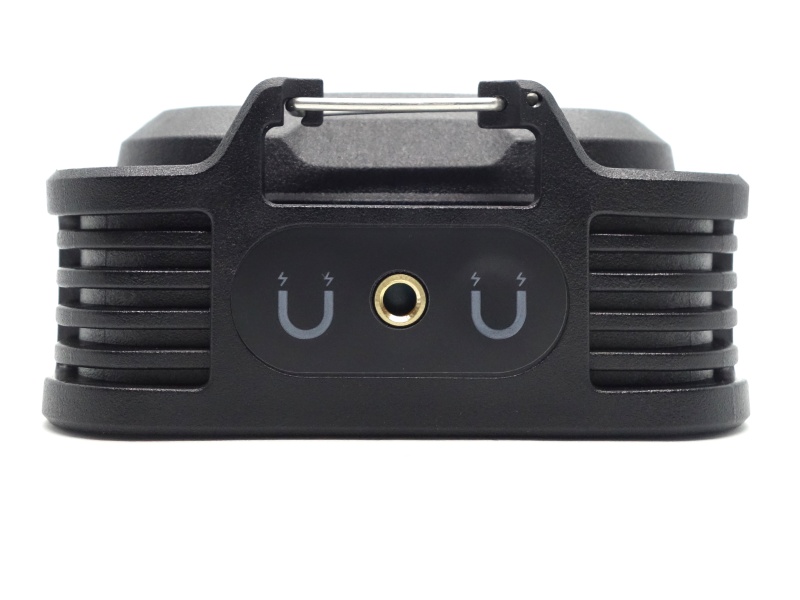
This makes it easy to attach to something.
Build quality#
The Astrolux WL01 Work Light appears to have a plastic case.
Overall, the quality feels like this is a budget work light.
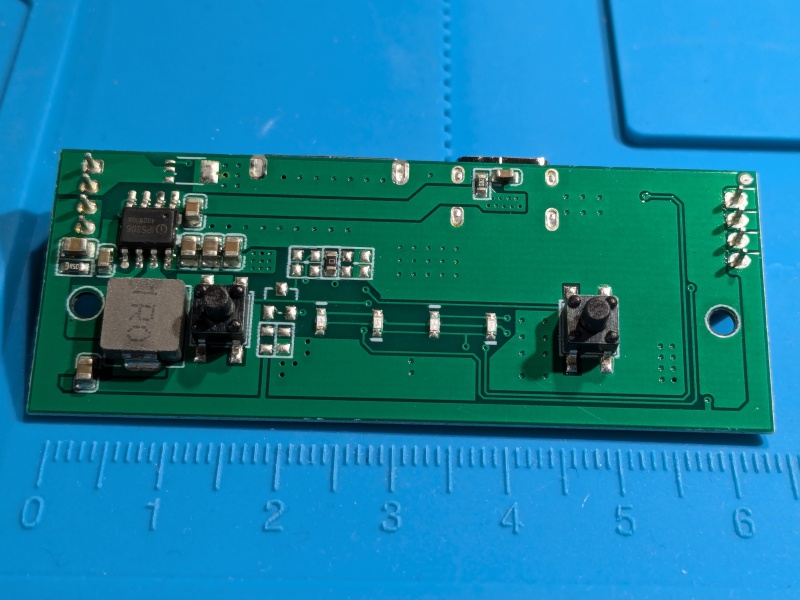
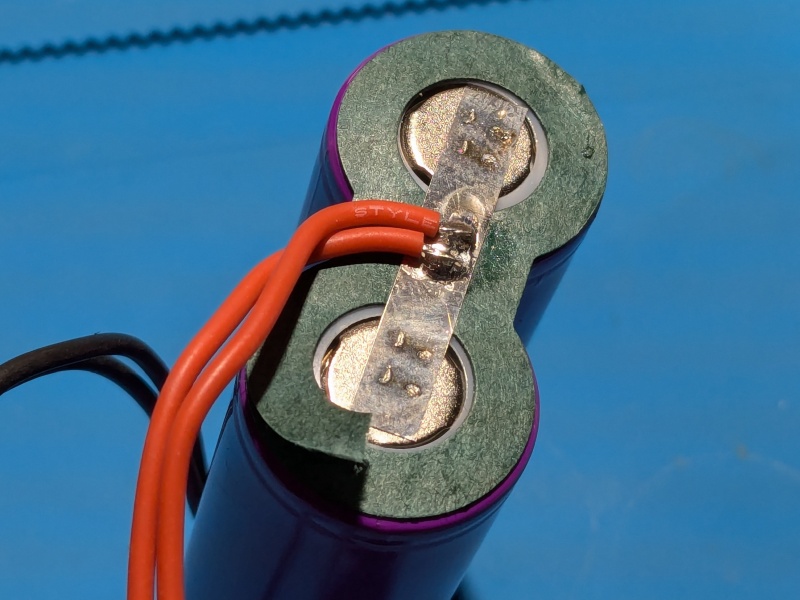
Teardown#
The Astrolux WL01 has twelve Phillips screws. The four external screws are PH1 and they require a long screwdriver to reach. The remaining screws are PH0.
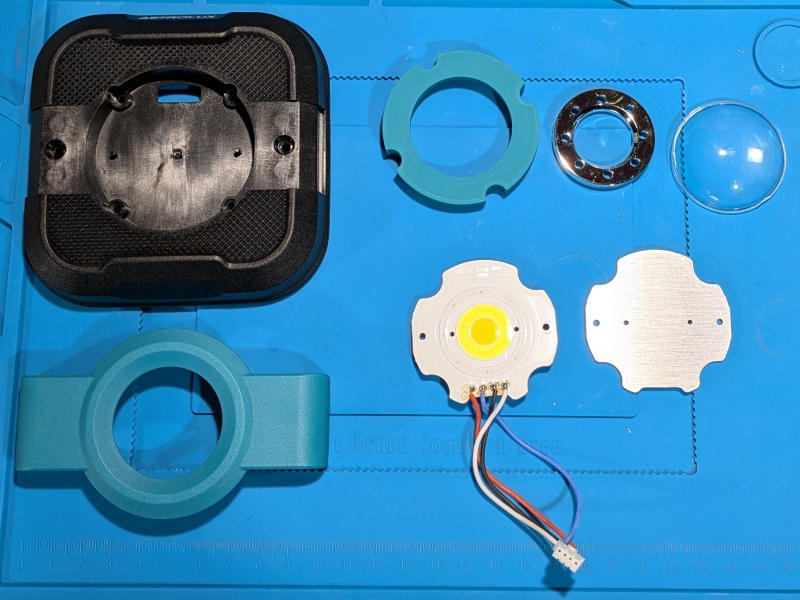
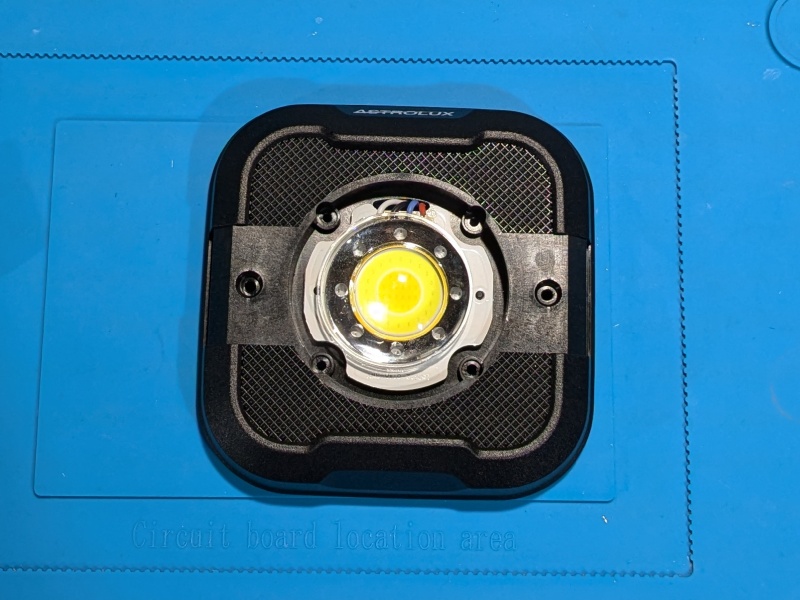
The emitters are on an aluminium MCPCB. There the an additional piece of aluminium. No thermal paste was used.
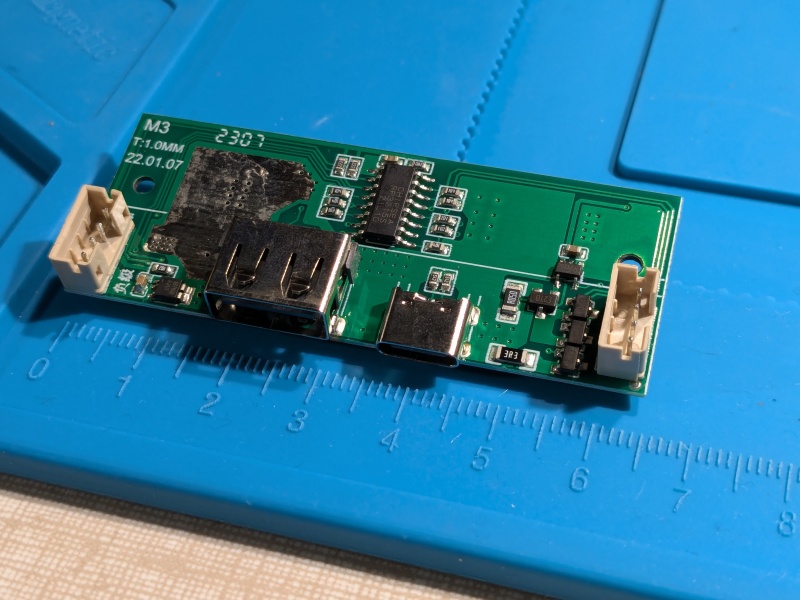
There are two connectors on the driver for the emitters and the batteries.
Here is a teardown video:
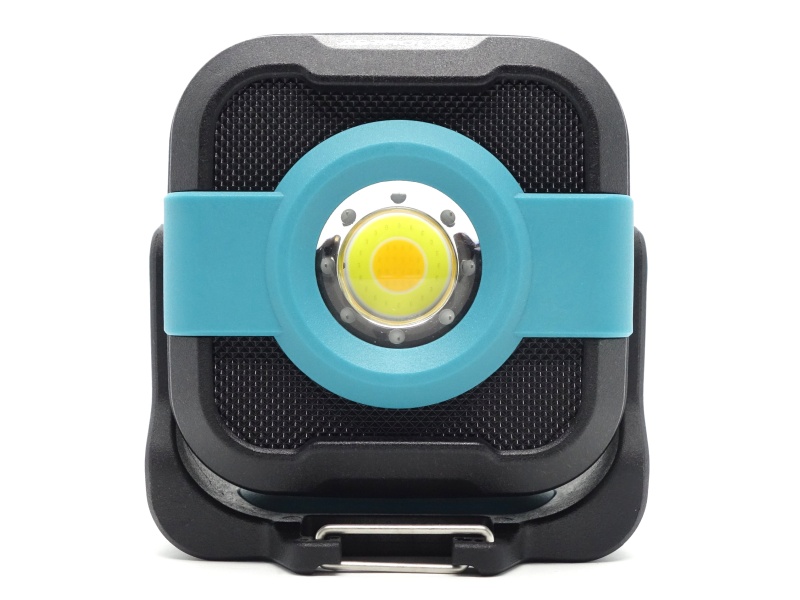
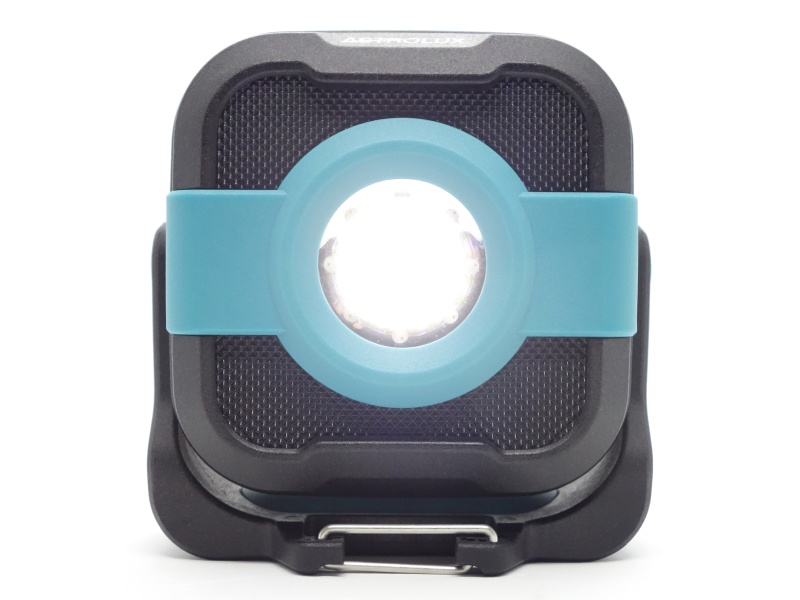
LED, bezel, lens, reflector and beam#
The Astrolux WL01 has a Cool White (5500-6000K) COB, a Warm White (2600-3000K) COB, and 8*Red (620-625nm) emitters.
The lens is made of plastic.
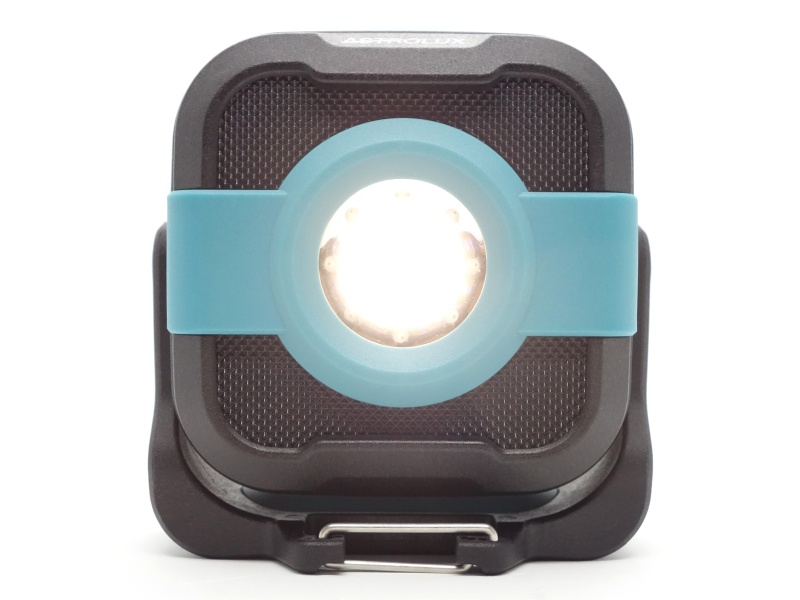
Cool White, Warm White#

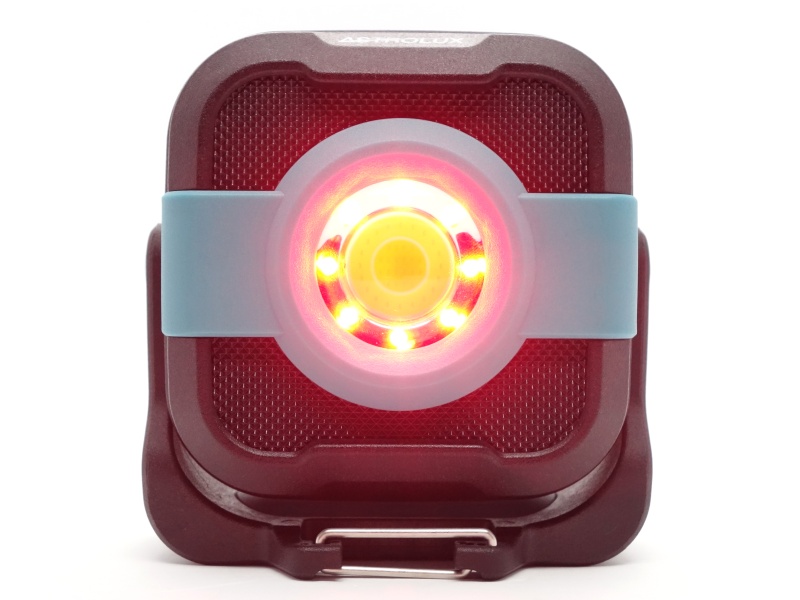
Neutral White, Red#
CCT, CRI, and duv#
I have taken Correlated Colour Temperature (CCT) and Colour Rendering Index (CRI, RA of R1-R8) measurements with the work light positioned half a metre away from an Opple Light Master Pro III (G3).
The CCT can be selected: Cool White (6000K), Neutral White (4100K) or Warm White (3200K).
The CRI is around 69.
The Delta u, v is slightly positive (green).
The beam produced is very floody but it has tint shift around the edge.
| LED | Mode | CCT (K) | CRI (Ra) | x | y | Duv |
|---|---|---|---|---|---|---|
| Cool | High | 6071 | 69.6 | 0.3205 | 0.3342 | 0.0020 |
| Both | High | 4134 | 71.4 | 0.3749 | 0.3729 | -0.0002 |
| Warm | High | 3208 | 68.5 | 0.4251 | 0.4032 | 0.0015 |
Calculate Duv from CIE 1931 xy coordinates
Dimensions and size comparison#
Dimensions#
I took the following measurements using a digital caliper.
| Measurement | Unit (mm) |
|---|---|
| Height | 117.97 |
| Width | 117.04 |
| Depth | 55.74 |
Weight#
I took the following measurements using a digital scale.
| Weight | Unit (g) |
|---|---|
| Astrolux WL01 | 380.7 |
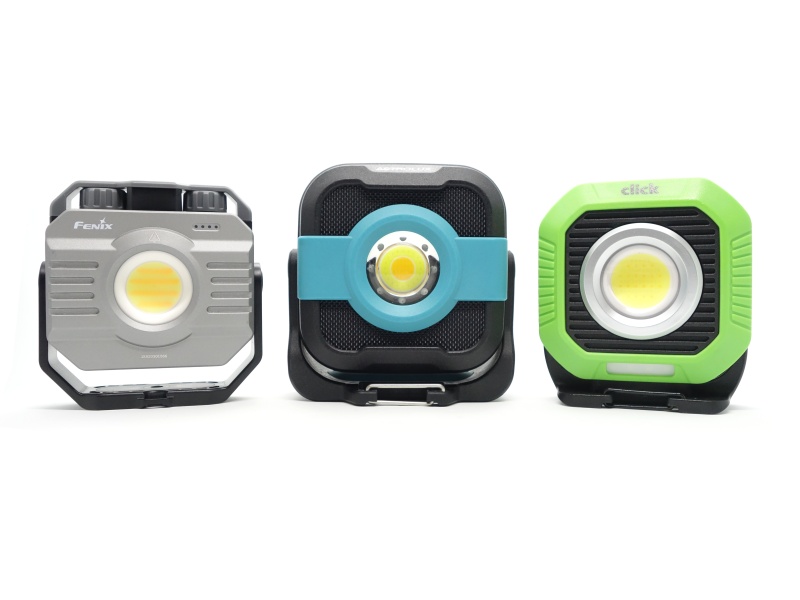
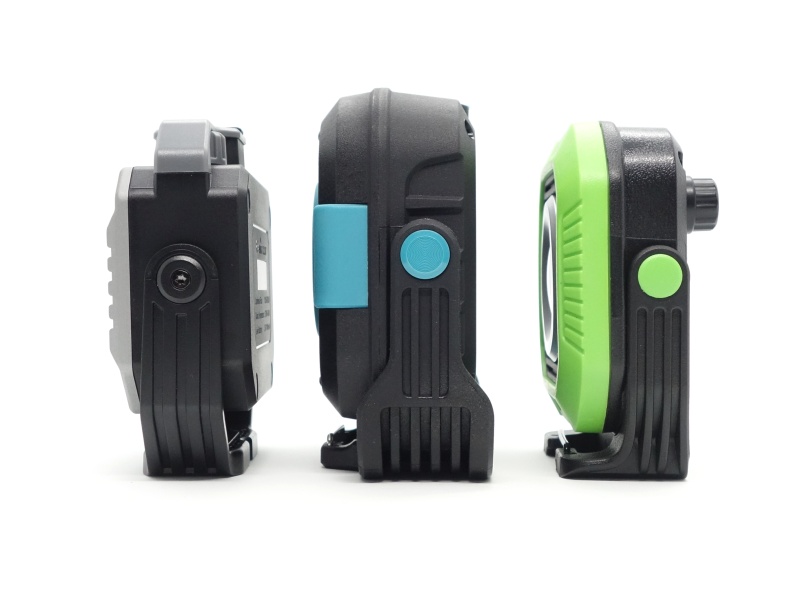
Size comparison with its competition#
From left to right: Fenix CL28R, Astrolux WL01, Click TL1916
Here is a video where I compared the work lights:
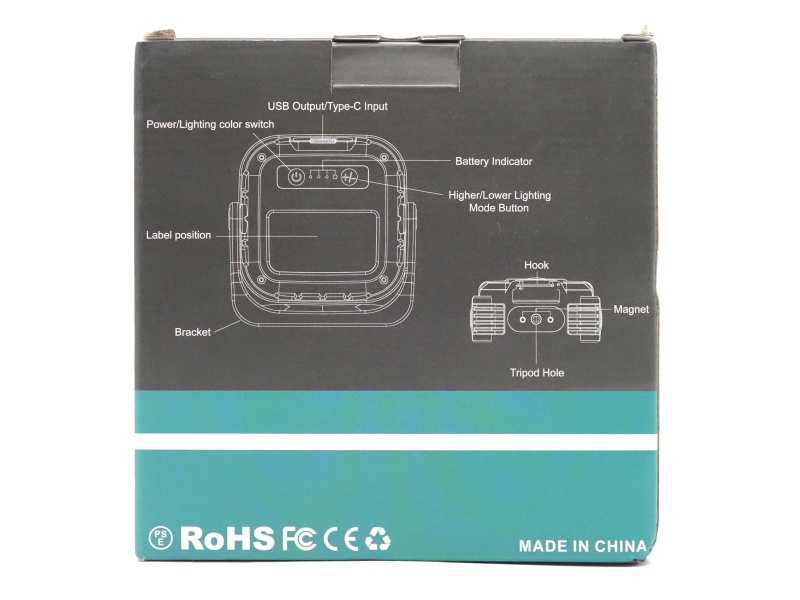
User interface#
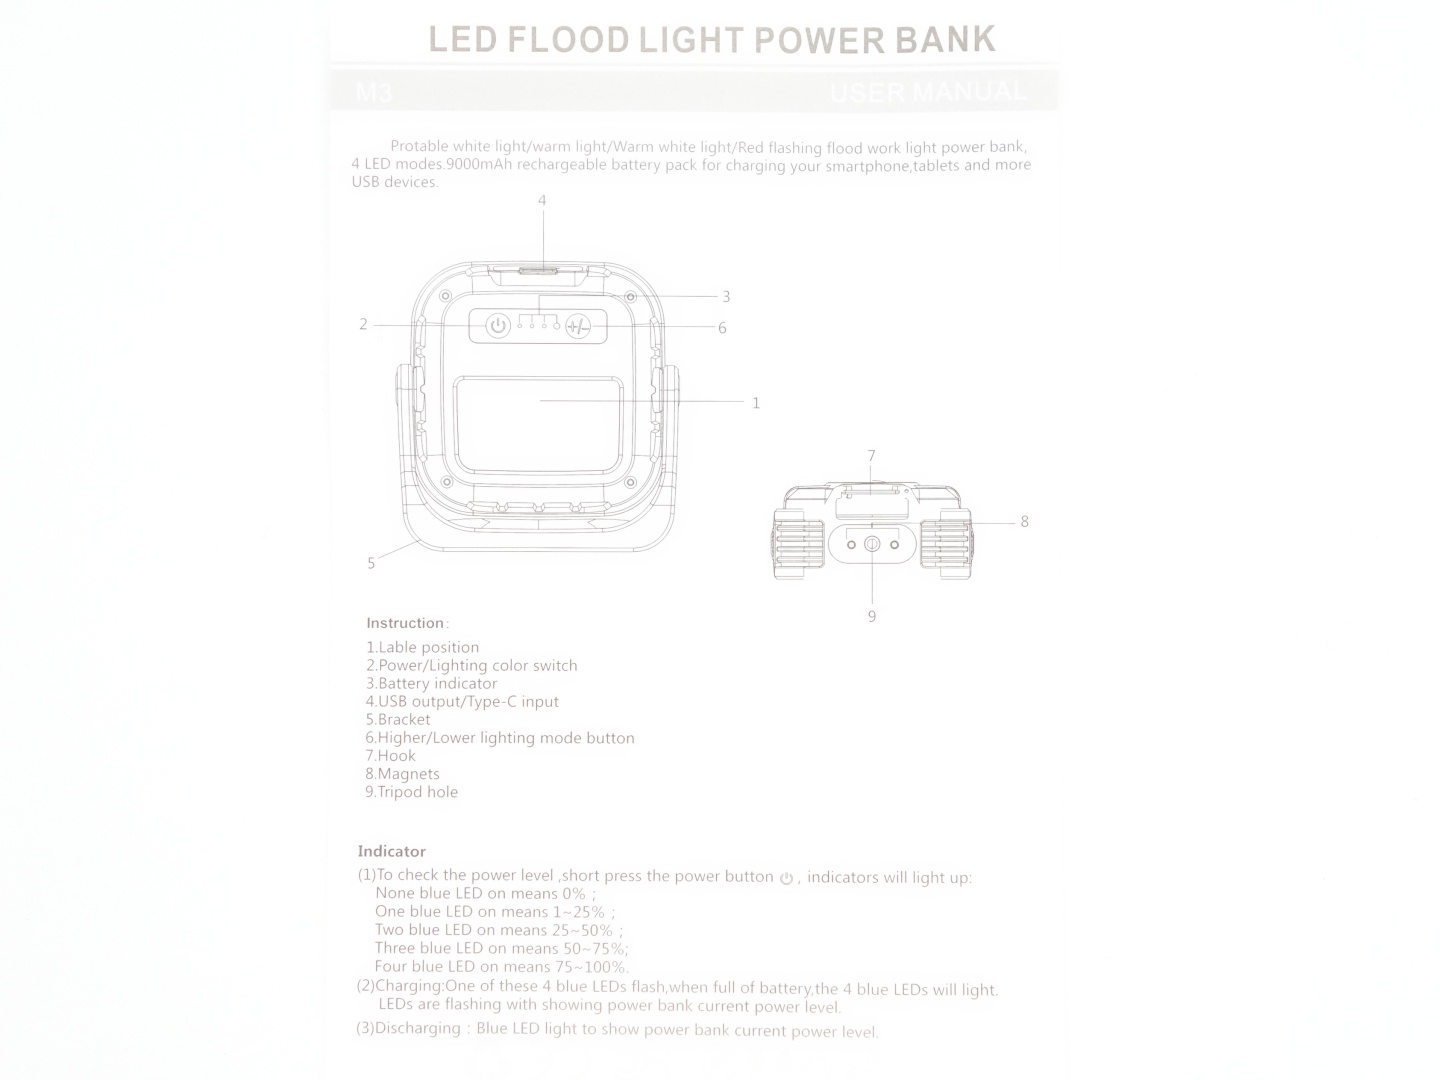
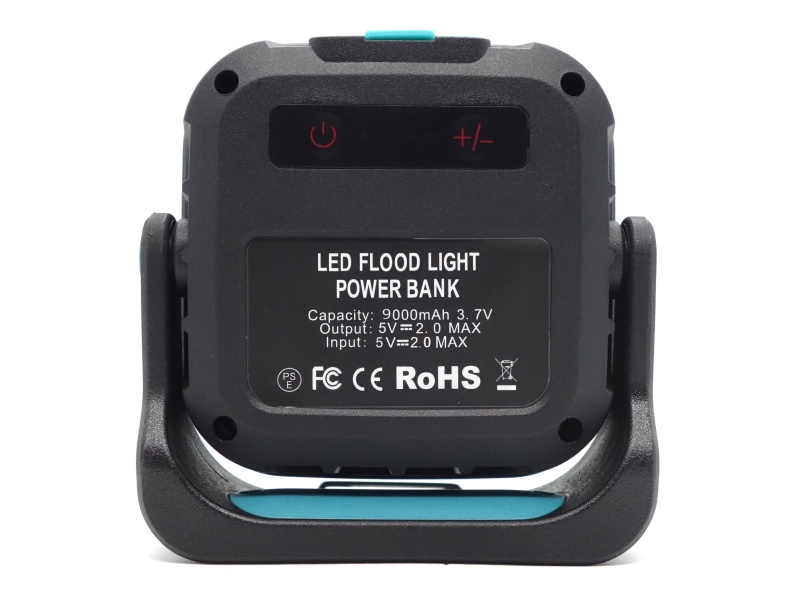
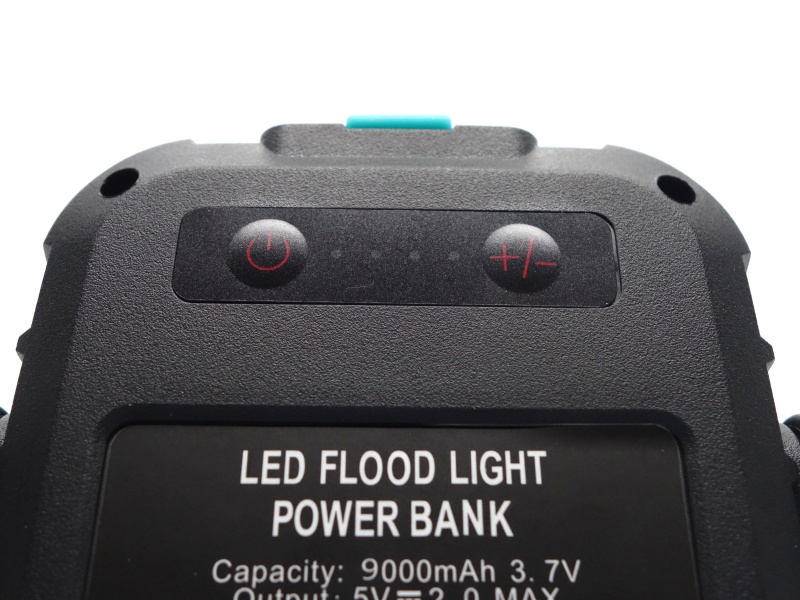
The Astrolux WL01 has two buttons to control the LEDs:
- Power button
- +/- (brightness) button
| State | Action | Result |
|---|---|---|
| Off | Click the power button | Display the battery level |
| Off | Hold the power button for 3 seconds | On High (Cool White) |
| On | Hold the +/- button | Decrease the brightness |
| On | Hold the +/- button | Increase the brightness |
| On | Click the power button | Cycle (Cool, Warm, Neutral, Red, Red flashing) |
| On | Hold the power button for 3 seconds | Off |
Battery Level Indicator#
To check the battery level, press the power button. The blue indicator LEDs will light up.
| Number of LEDs | Battery level |
|---|---|
| 0 | 0% |
| 1 | 1% - 25% |
| 2 | 25% - 50% |
| 3 | 50% - 75% |
| 4 | 75% - 100% |

Strobe#
Red has a mode where it flashes slowly.
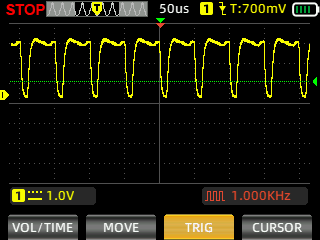
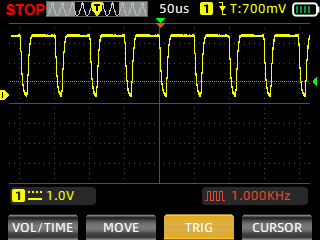
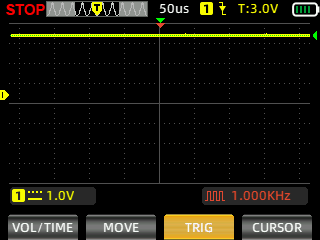
Pulse Width Modulation#
I did not notice any visible PWM (flickering).
I measured the PWM of the light with a Zoyi ZT-703S oscilloscope.
Mode: High (Cool), High (Warm), High (Both)
What I like about the UI#
- The battery level can be displayed with a single click of the power button.
- The brightness increases to 100% when changing modes.
What could be improved#
- It would be better if the brightness could be easily increased and decreased by pressing and holding the +/- button. You need to wait for the brightness to get to the lowest point before you can increase the brightness again.
- It would be nice if a similar brightness was maintained when switching between Cool White, Warm White and Neutral White.
Batteries and charging#
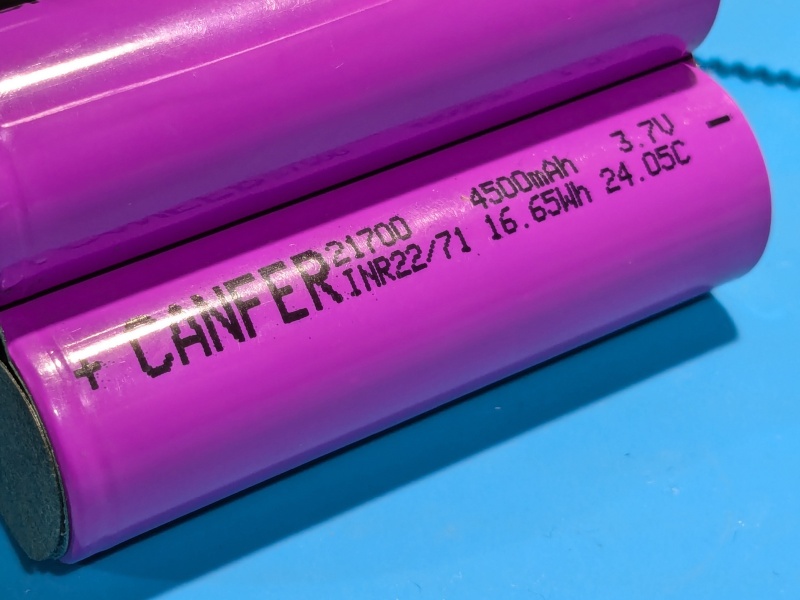
Battery#
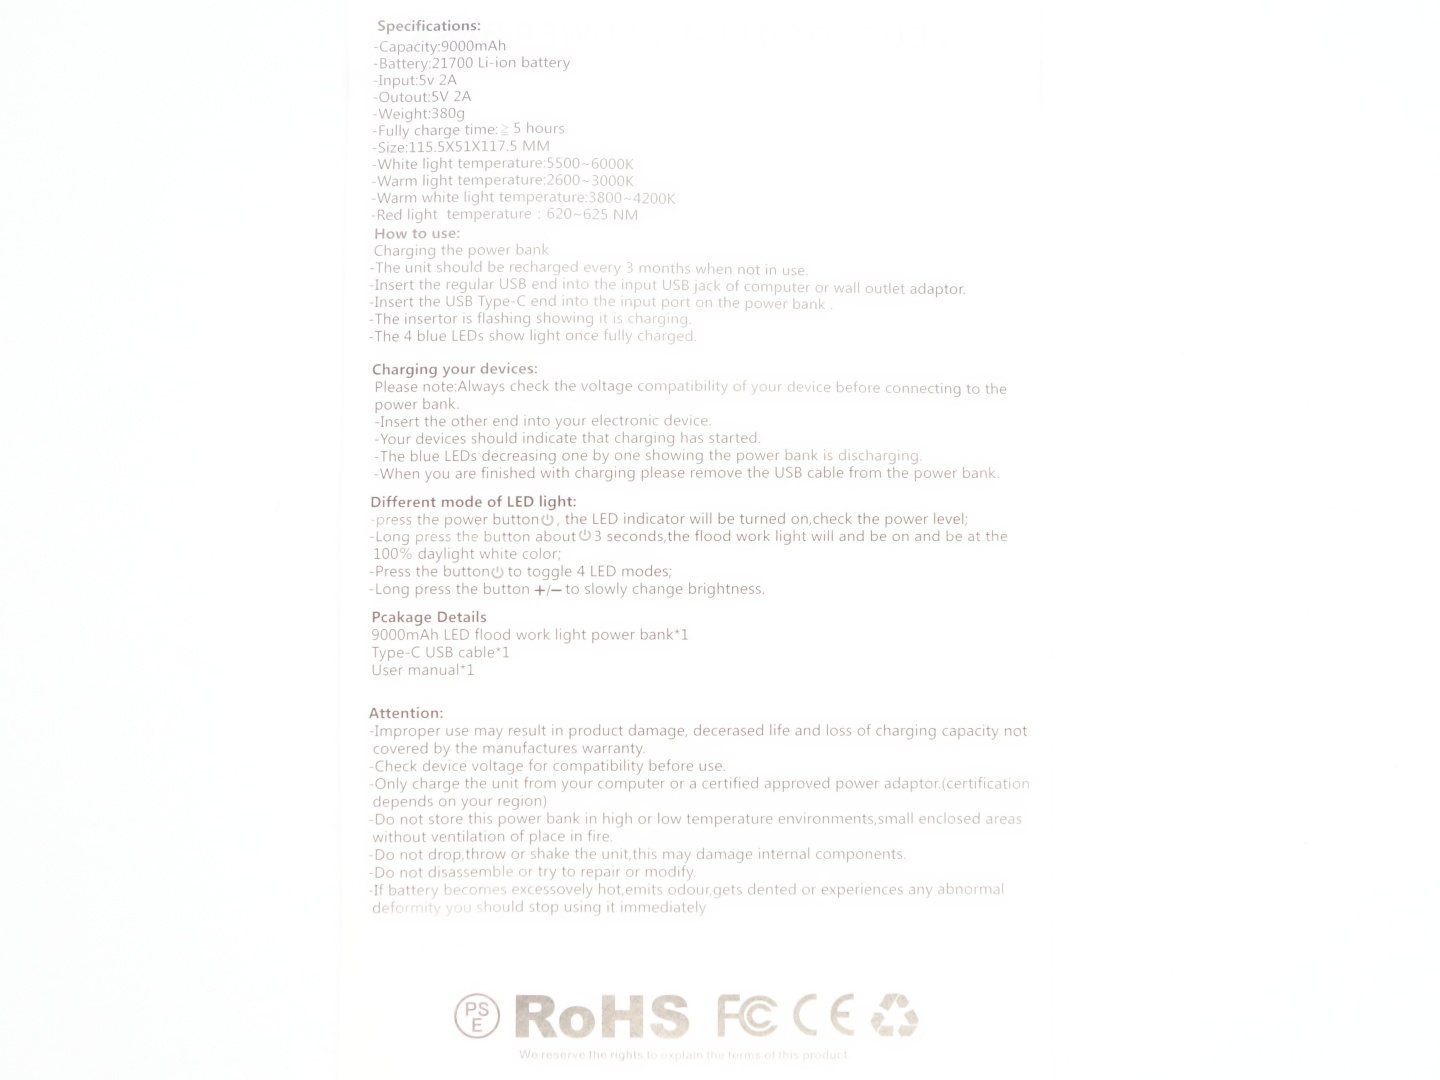
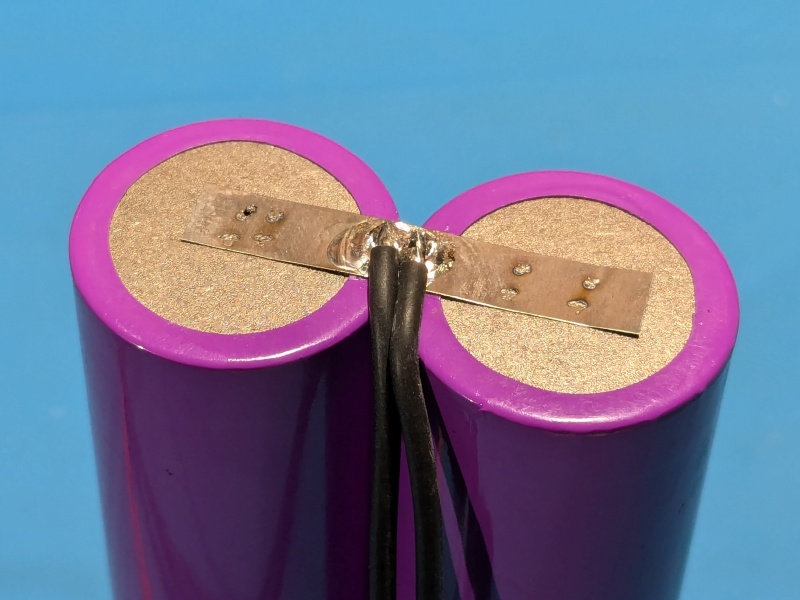
The Astrolux WL01 has two 21700 3.7V Li-ion 4500mAh cells connected in parallel.
The combined capacity is 9000mAh.
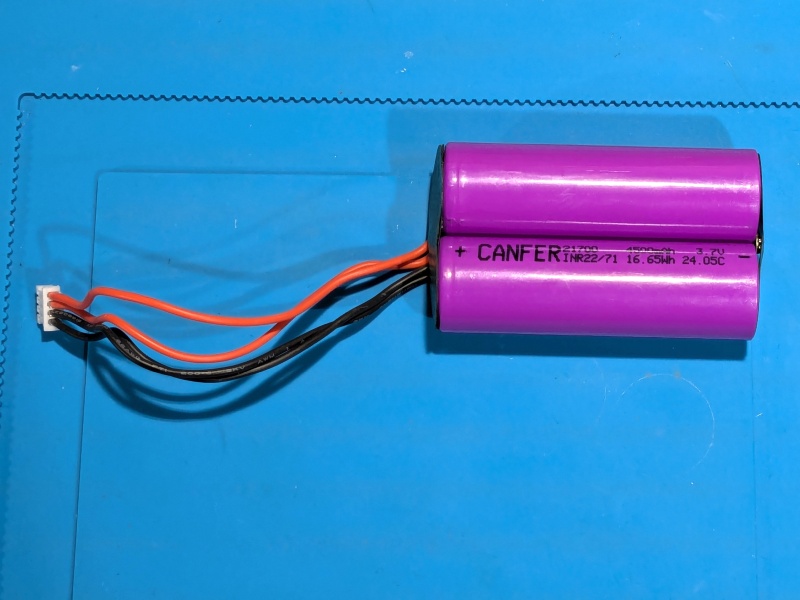
There were cardboard stickers on the ends of the cells to improve safety.
The cells were stuck to the inside of the case with sticky foam.
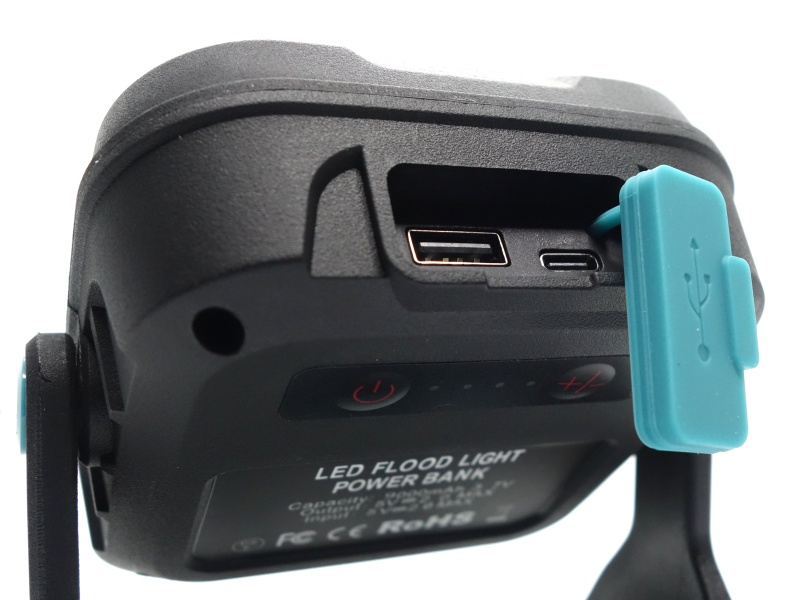
Charging#
The Astrolux WL01 has a USB-C port for charging the work light (5V/2A input).
The USB-A port may be used as a powerbank (5V/2A output).
The USB-C port cannot be used as a powerbank.
Power supply: PinePower Desktop USB-C
USB Meter: AVHzY CT-3
Room temperature: 15 C
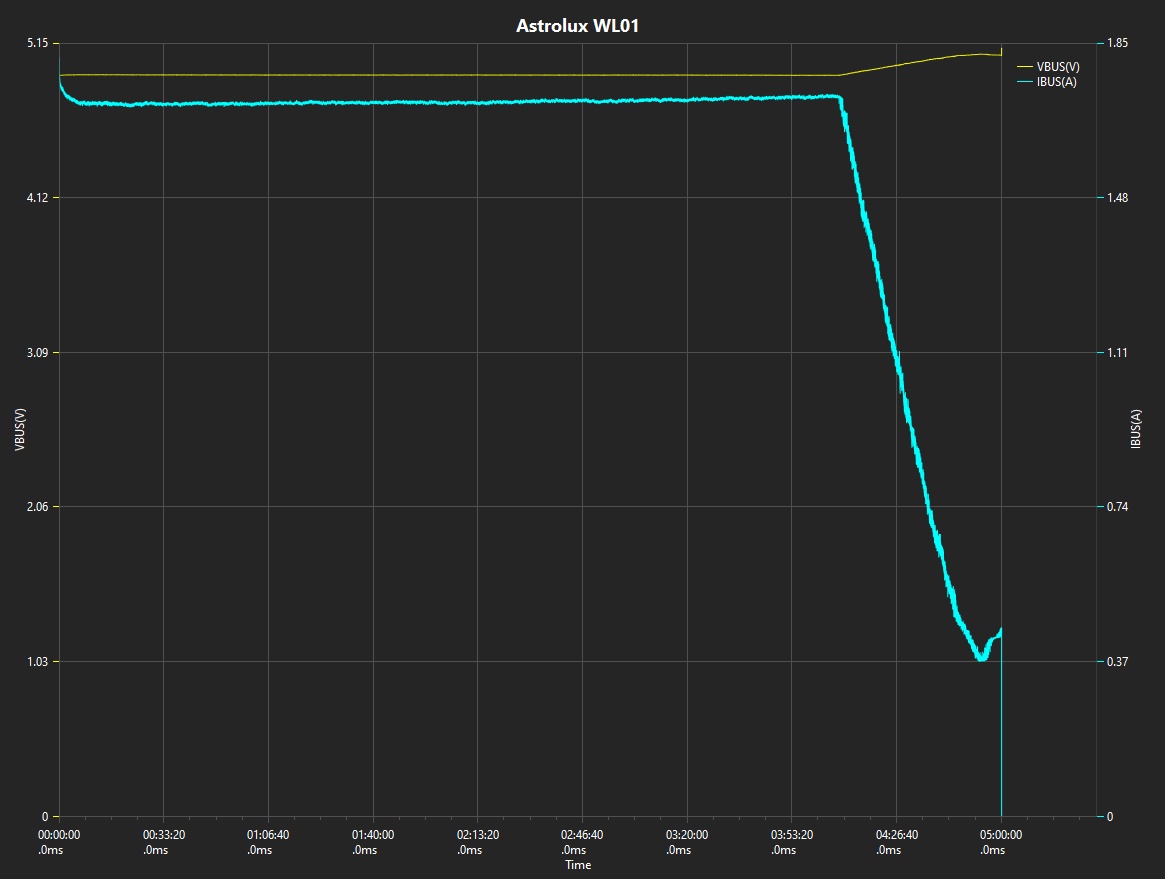
I charged the work light using the USB-C port. It charged at a rate of 5V 1.7A for about 5 hours.
All four blue indicicator LEDs turned on when charging was complete.
Powerbank#
I used the USB-A port with a USB-A to USB-C cable to charge my phone.
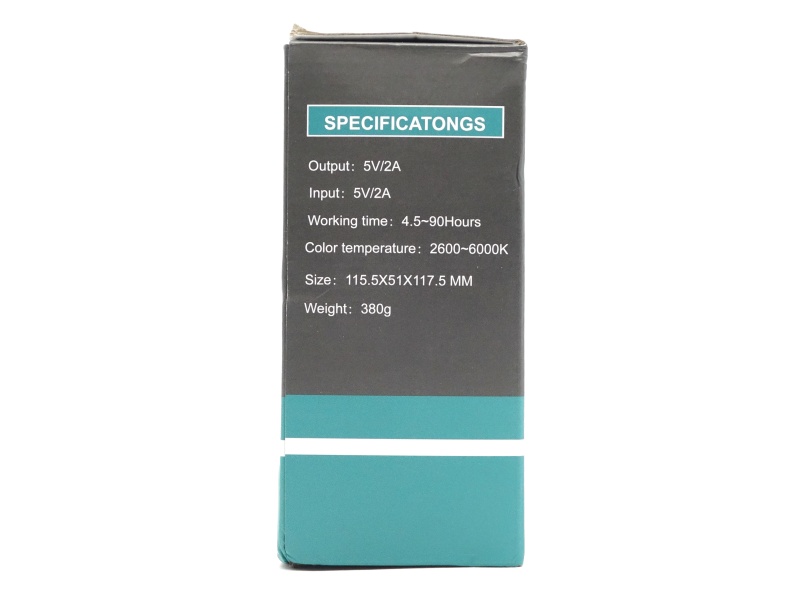
Performance#
Specifications from the box:
Output (lumens): 1,200 lumens.
Runtime: 4.5-90 hours.
Output: 5V/2A.
Input: 5V/2A.
I have tested the Astrolux WL01 to find out how it performs.
I will refer to “Neutral White” as “Both” to indicate that the Cool White COB and Warm White COB are on.
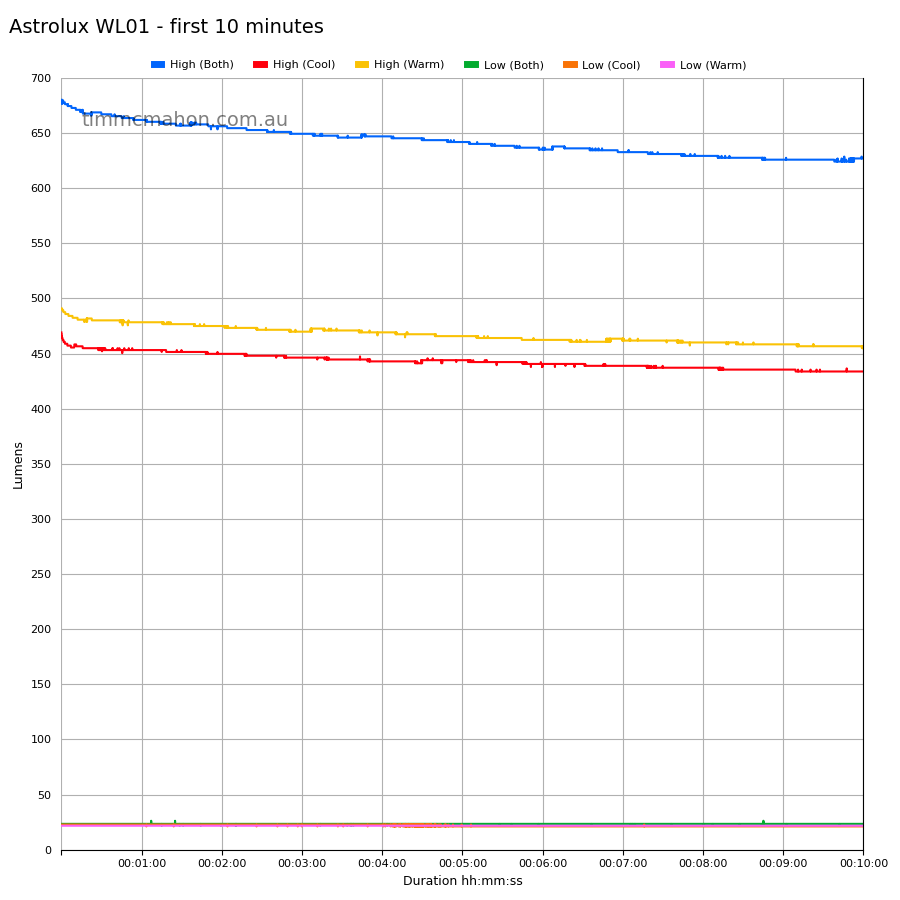
Lumen measurements#
| LED | Mode | Specs | Lumens @turn on | Lumens @30 sec | Lumens @10 min |
|---|---|---|---|---|---|
| Both | Low | 23 | 23 | 23 | |
| Both | High | 1,200 | 680 | 666 | 624 |
| Cool | Low | 22 | 22 | 21 | |
| Cool | High | 1,200 | 469 | 454 | 433 |
| Warm | Low | 21 | 21 | 21 | |
| Warm | High | 1,200 | 491 | 480 | 454 |
Standby drain#
There is a recommendation in the user manual to charge the Astrolux WL01 every 3 months when it is not in use. This might indicate that there is a standby drain.
Runtime graphs#
I used my own DIY lumen tube with a TSL2591 sensor and forked bmengineer’s project RuTiTe to record runtimes.
Note: Lumen measurements may be off by 10% with my DIY lumen tube.
The room temperature was approximately 10 C.
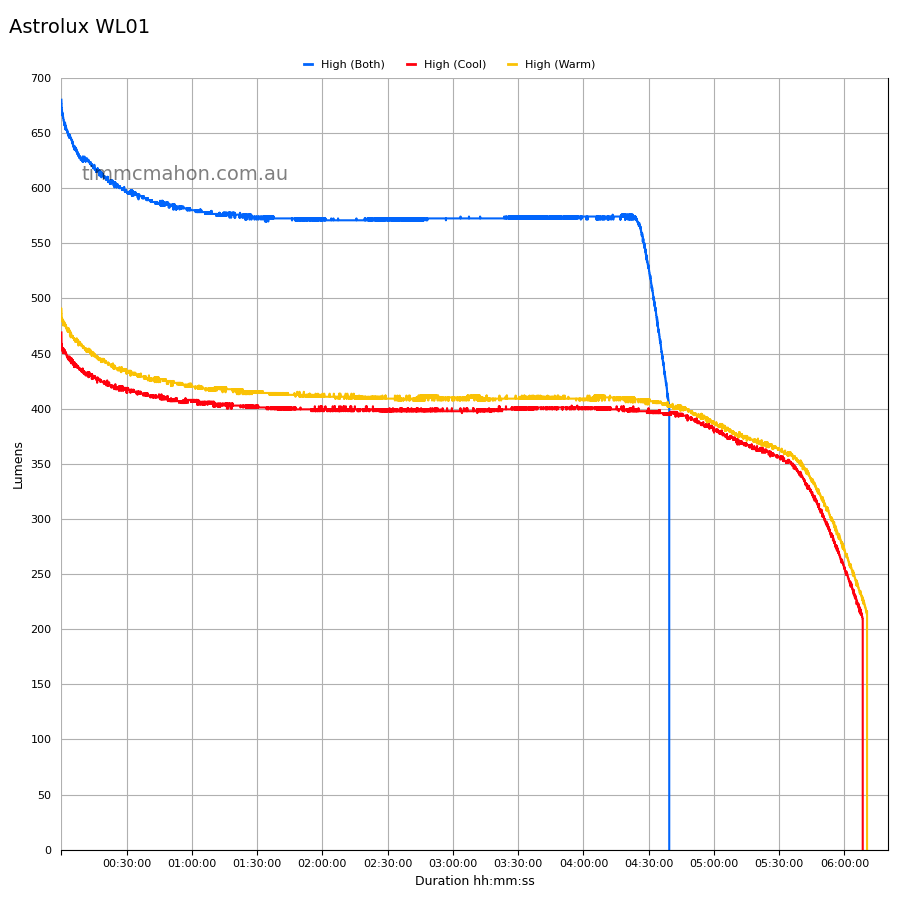

Runtime#
Here is a summary of the runtime results:
| LED | Mode | User manual | Runtime | Turn off |
|---|---|---|---|---|
| Both | High | 4h 30min | 4h 39min 36s | 4h 39min 36s |
| Both | Low | 10min+ | 10min+ | |
| Cool | High | 6h 8min 36s | 6h 8min 36s | |
| Cool | Low | 10min+ | 10min+ | |
| Warm | High | 6h 10min 22s | 6h 10min 22s | |
| Warm | Low | 10min+ | 10min+ |
“Runtime” is the time until the output reduces to 10% of the output at 30 seconds (as per the ANSI/PLATO FL1 2019 Standard).
“Turn off” is the time until my DIY lumen tube no longer detects more than one lumen.
“+” indicates that the light remained on after recording had stopped.
The output looks pretty stable.
The runtime was slightly better than expected.
Throw#
I have not measured the beam distance.
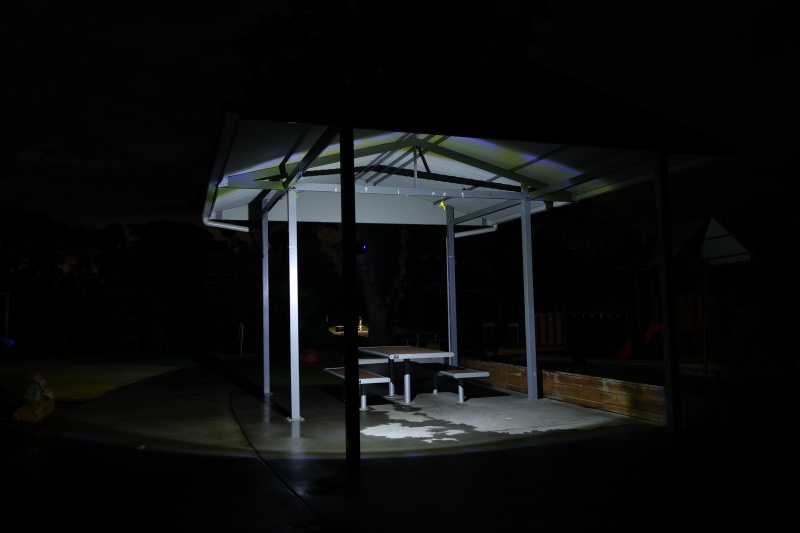
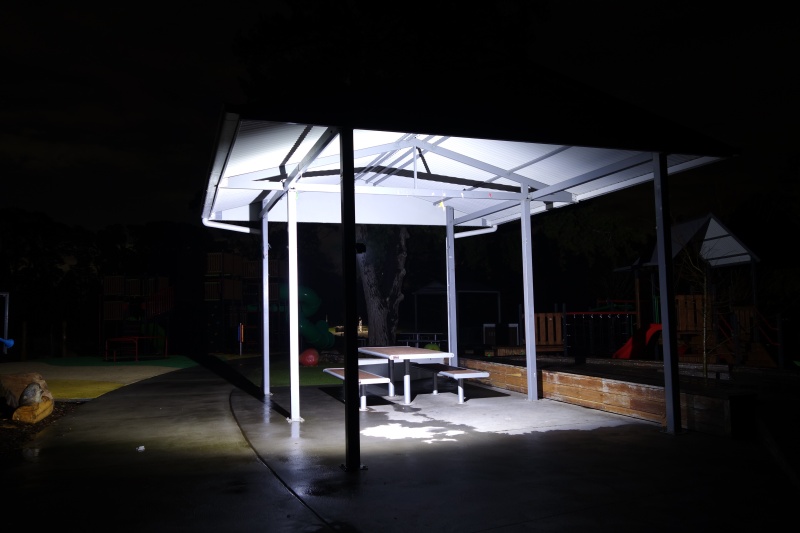
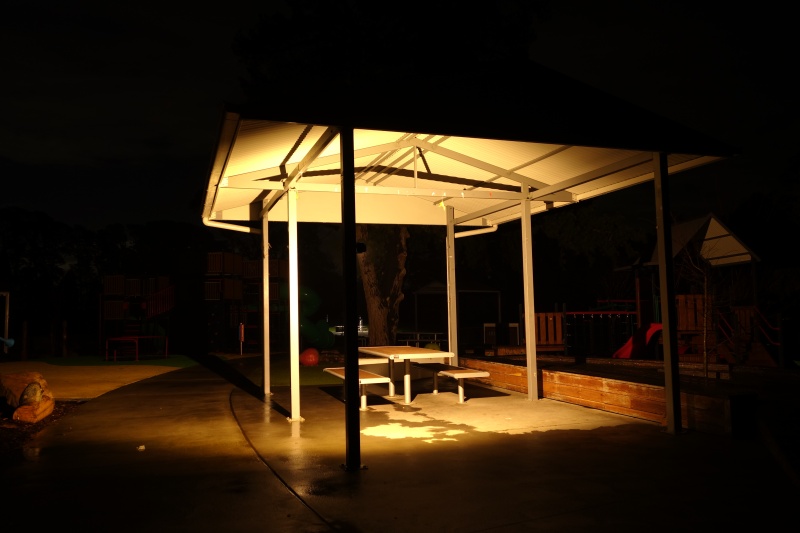
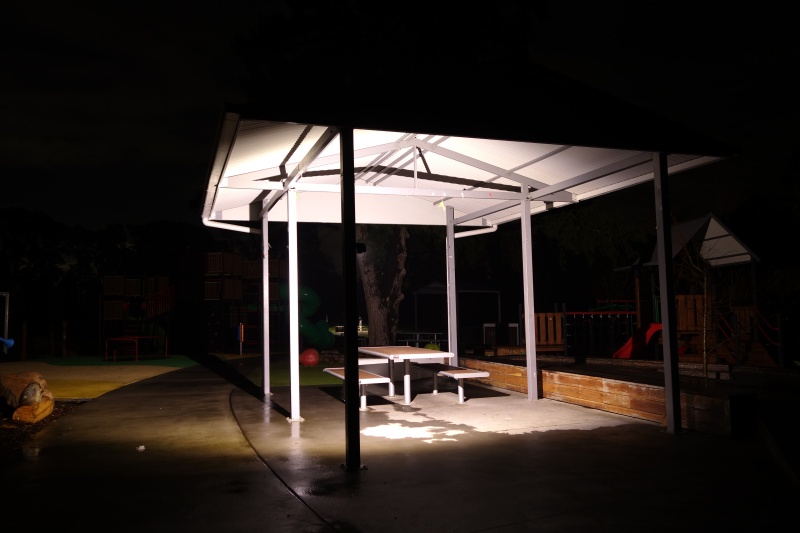
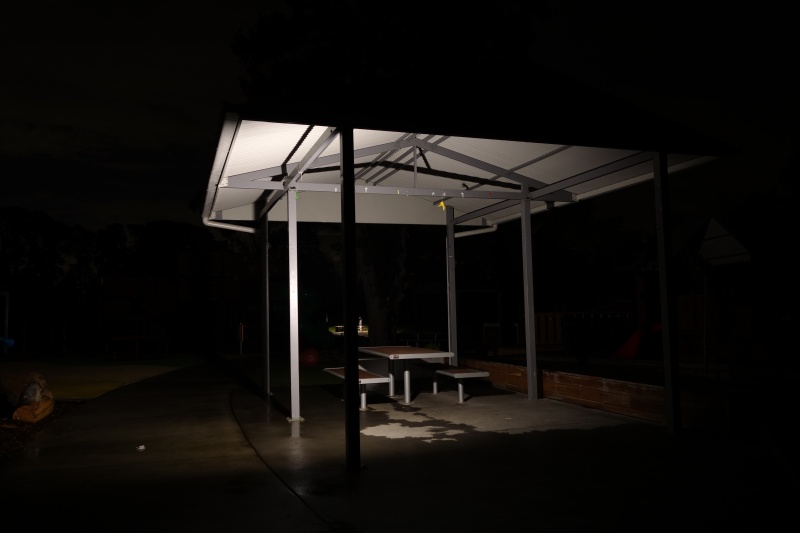
Beamshots#
I went to a local park and I turned the work light on using High.
Beamshots were taken using a Sony RX100M2 using 2.5", f3.2, ISO 100, 5000K WB.
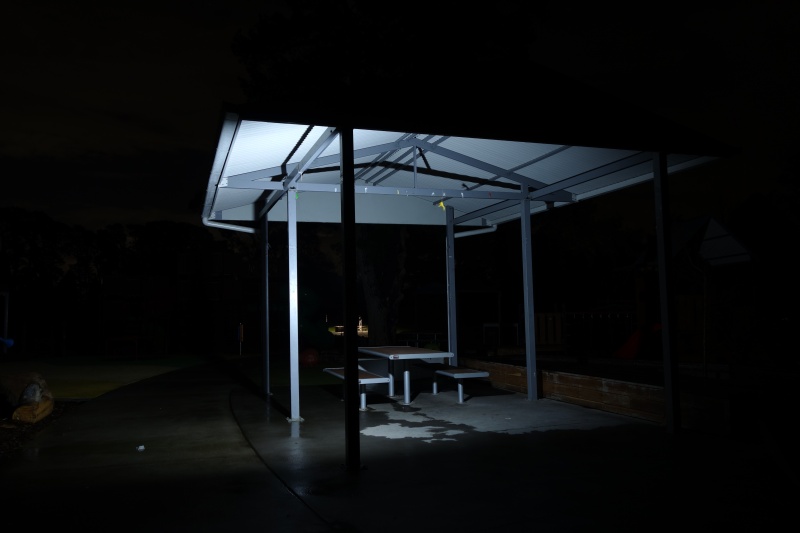
Cool White#
Astrolux WL01, Click TL1916
Fenix CL28R, Wuben F5
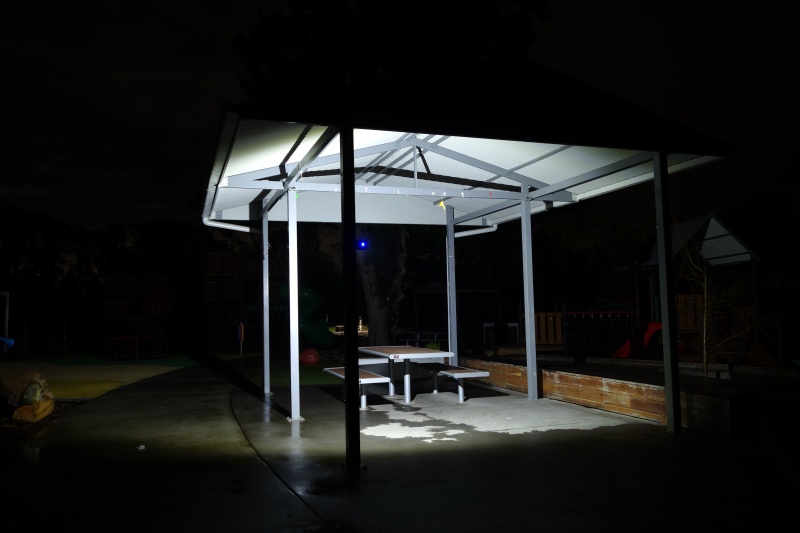
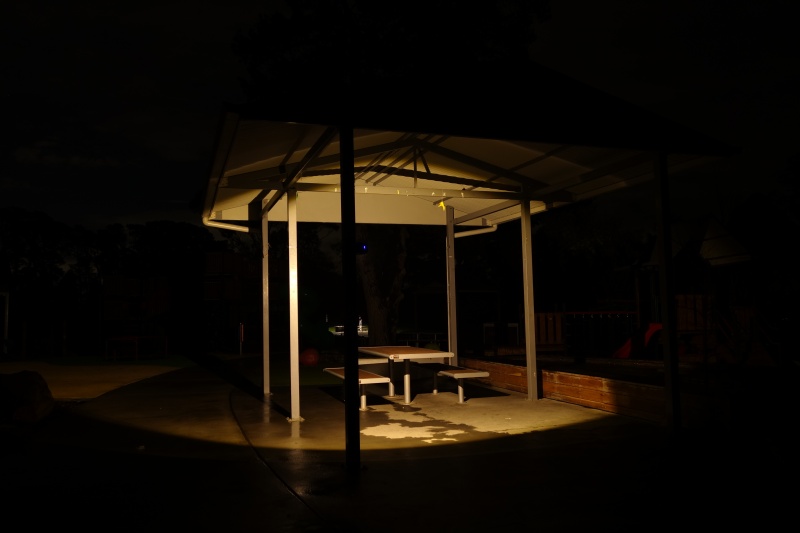
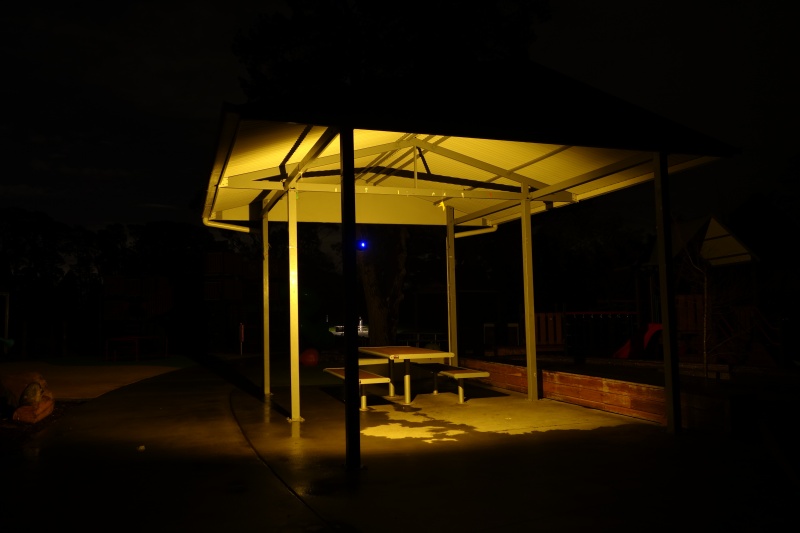
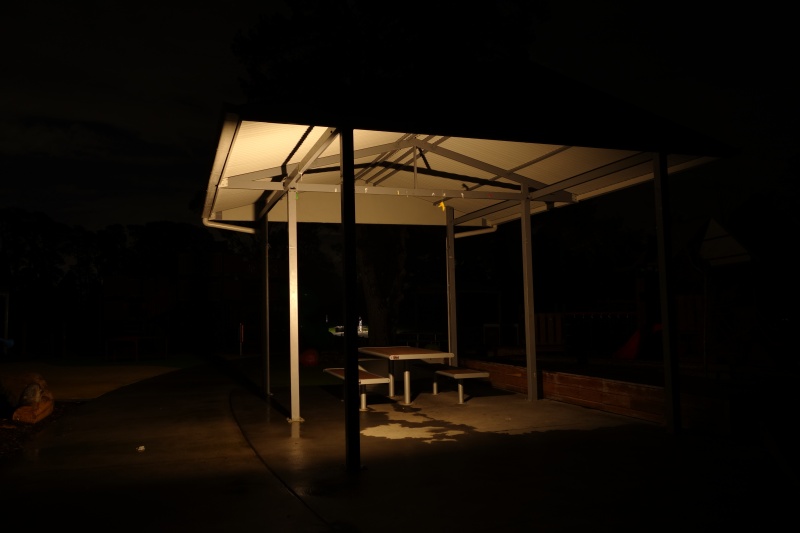
Warm White#
Astrolux WL01, Click TL1916
Fenix CL28R, Wuben F5
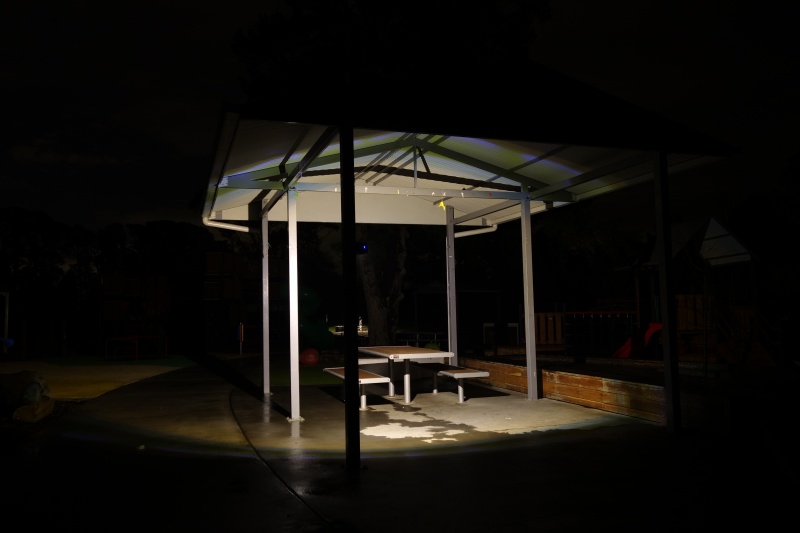
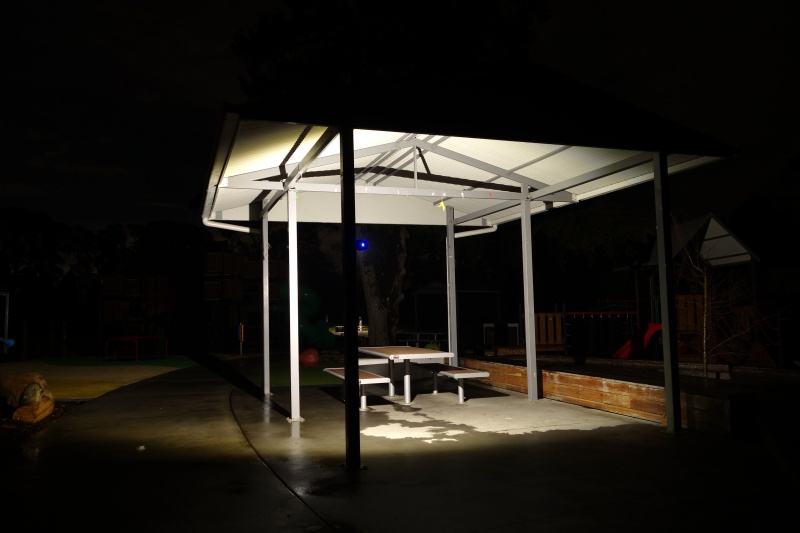
Both (Neutral White)#
Astrolux WL01, Click TL1916
Fenix CL28R, Wuben F5
Each work light has one or more red emitters where you can turn them on or make them strobe slowly like a beacon.
Here is a video demonstrating the beam of each work light:
Conclusion#
The Astrolux WL01 Work Light is ok.
The runtimes are good and the output is stable.
The output did not reach 1,200 lumens. It reached 680 lumens.
The magnetic base and metal tripod hole make this work light easy to attach to something.
I am not a fan of the user interface. It is a bit clunky.
The Astrolux WL01 is not perfect. But it gets the job done. I would recommend it when it is on sale.
Pros:#
- Output is stable.
- Good runtimes.
- Metal tripod hole.
- Strong magnets in the base.
- Clip.
- Powerbank feature.
Cons:#
- Tint shift around the edge of the beam.
- Output is much lower than 1,200 lumens.
- Awkward user interface.
- Limited to 180 degrees when swivelling.
- No USB-C output.
Price#
The Astrolux WL01 is AU$40.35 from banggood.com at the time of writing.
A Click TL1916 is about AU$20 on clearance at Bunnings.
Product page#
Astrolux WL01 at banggood.com (affiliate link)
I may earn a commission if you use an affiliate link or a promo code. This will help fund future torch reviews and tutorials.