Sofirn SP10 Pro 519A sm353 emitter swap

Sofirn SP10 Pro 519A sm353 emitter swap#
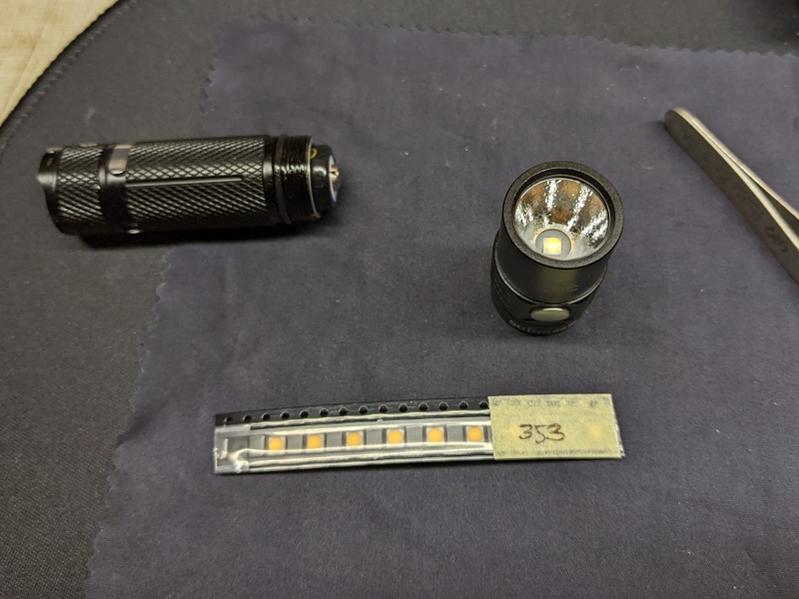
Nichia 519A emitters are all the rage right now in the torch enthusiasts community. Here is a quick tutorial on how to swap a 519A sm353 domed emitter into a Sofirn SP10 Pro.
Parts used#
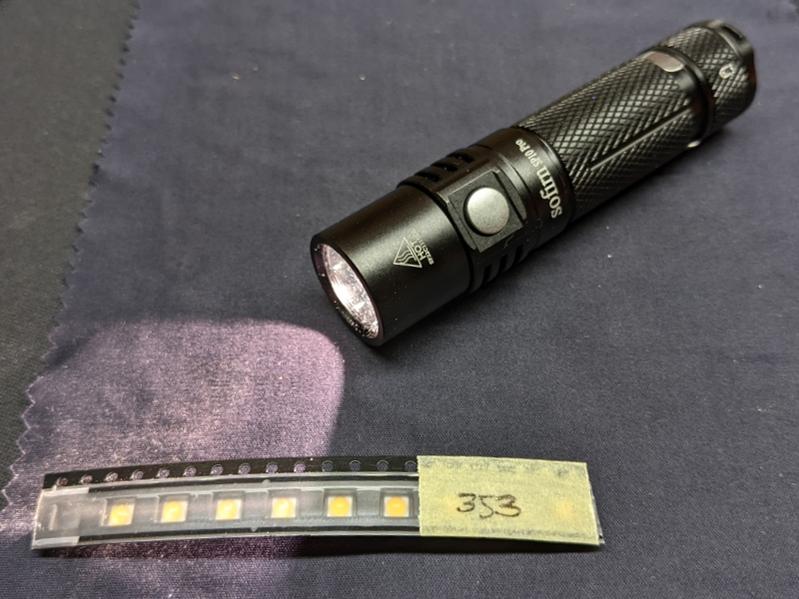
- Sofirn SP10 Pro
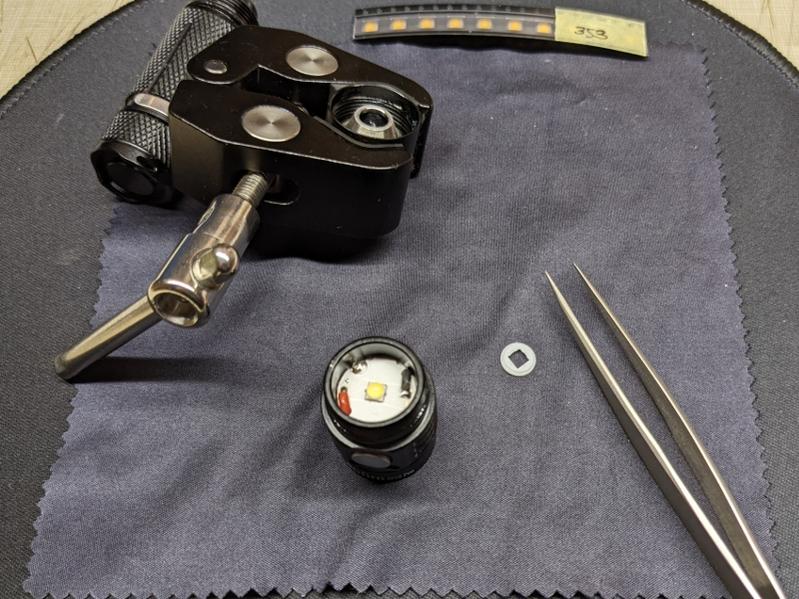
- Nichia 519A sm353
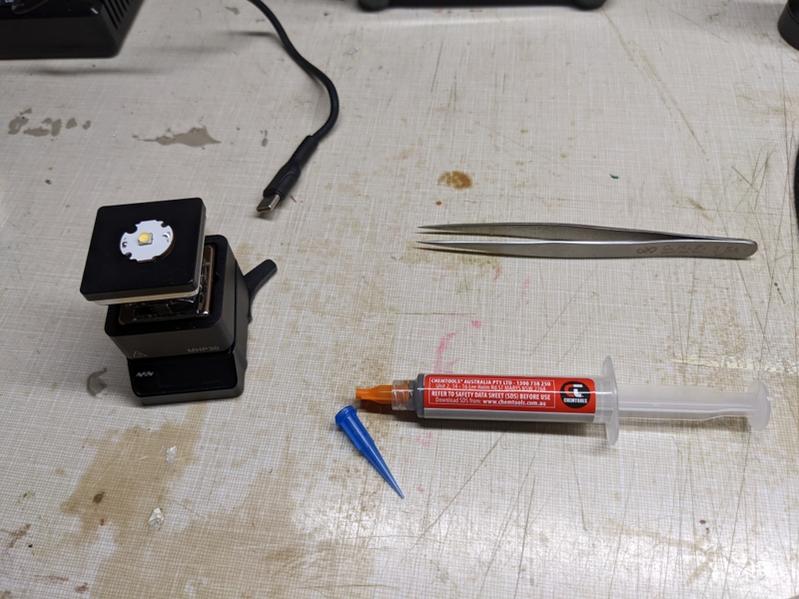
- Leaded Solder Paste
- Solder
- Thermal paste
Tools used#
- Soldering iron
- MiniWare MHP30 hot plate
- SmallRig Crab Clamp
- Isopropyl alcohol
- Tweezers
- Paper towel
- Digital Multimeter
- PanaVise PAN201
Steps#
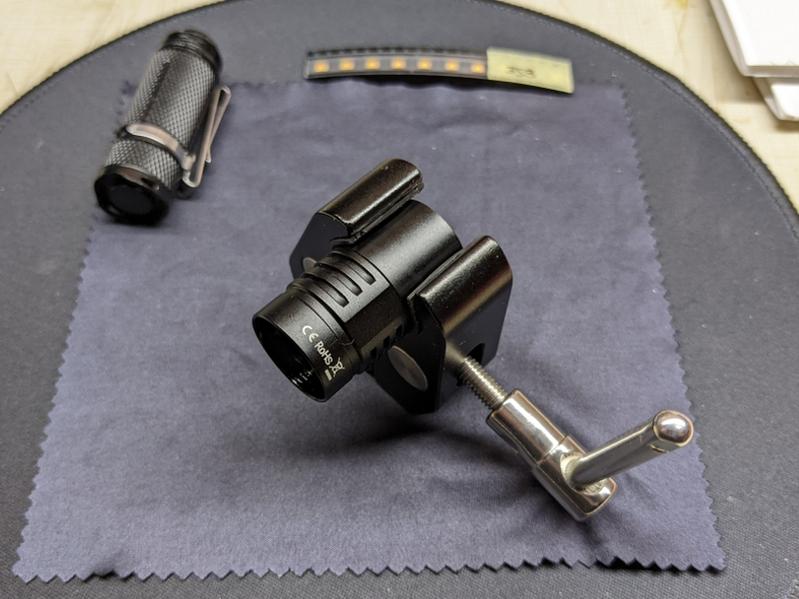
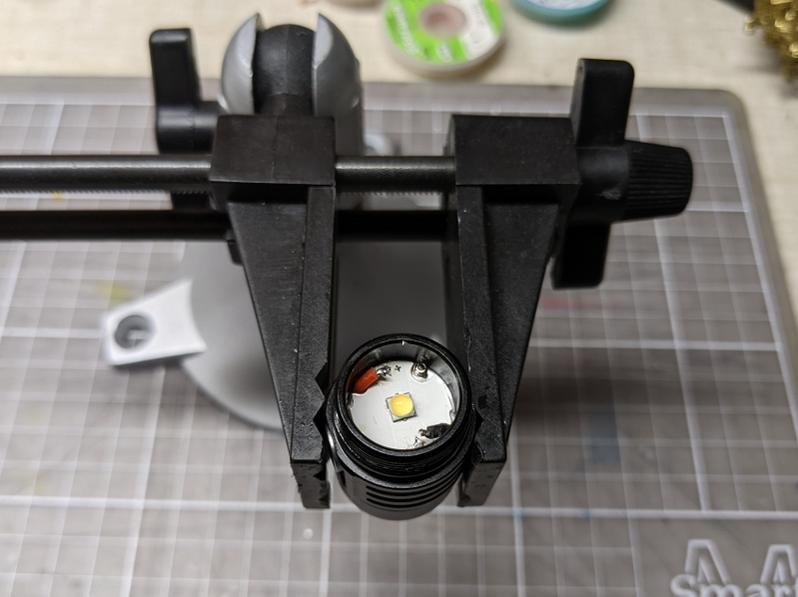
1. Place the head of a Sofirn SP10 Pro in a SmallRig Crab Clamp and unscrew the bezel.
2. Remove the gasket from around the emitter.
3. Desolder the wires from the MCPCB.
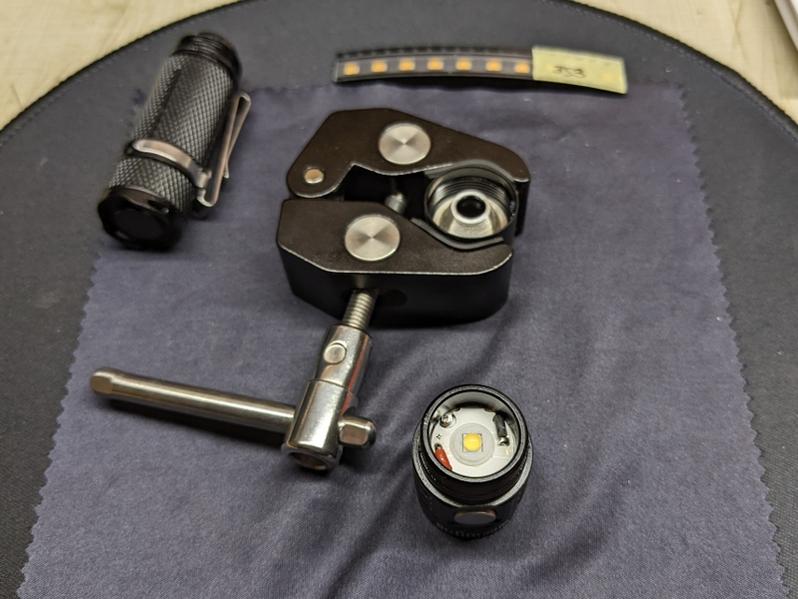
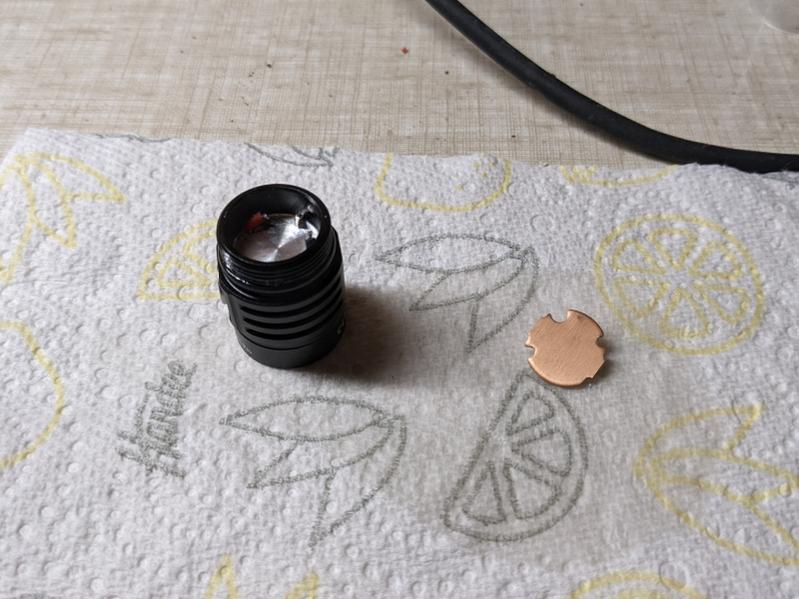
4. Remove the MCPCB from the head.
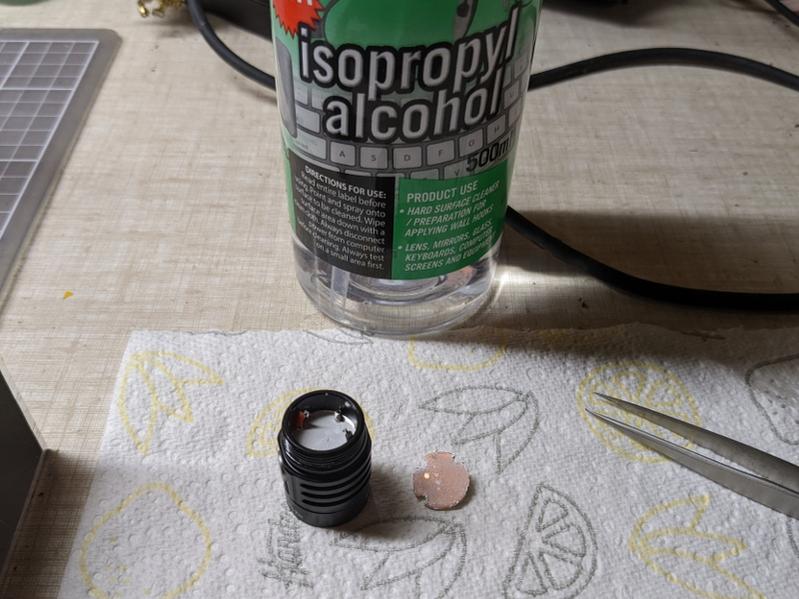
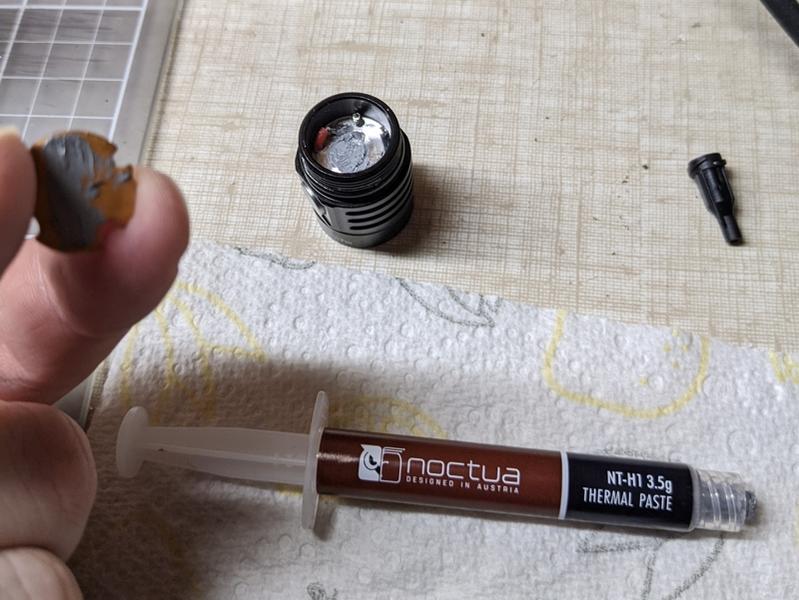
5. Clean thermal paste off the shelf of the head and the MCPCB using isopropyl alcohol.
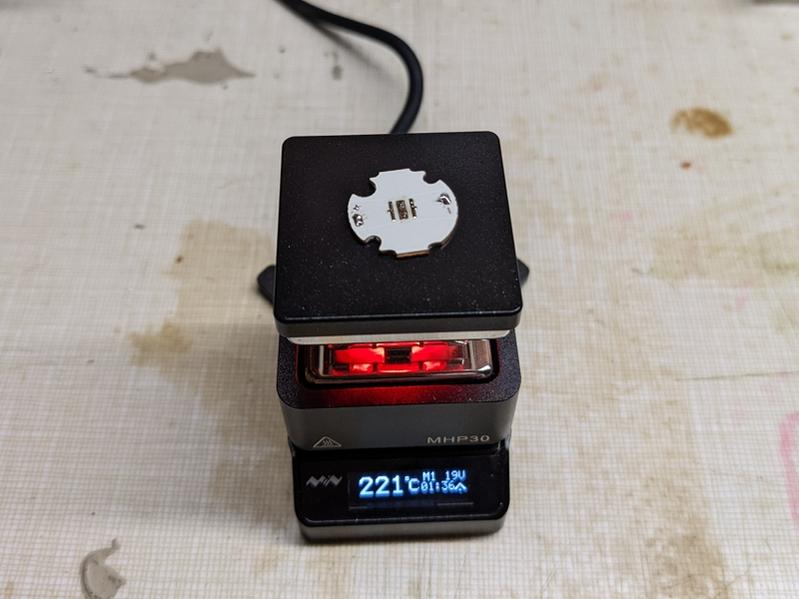
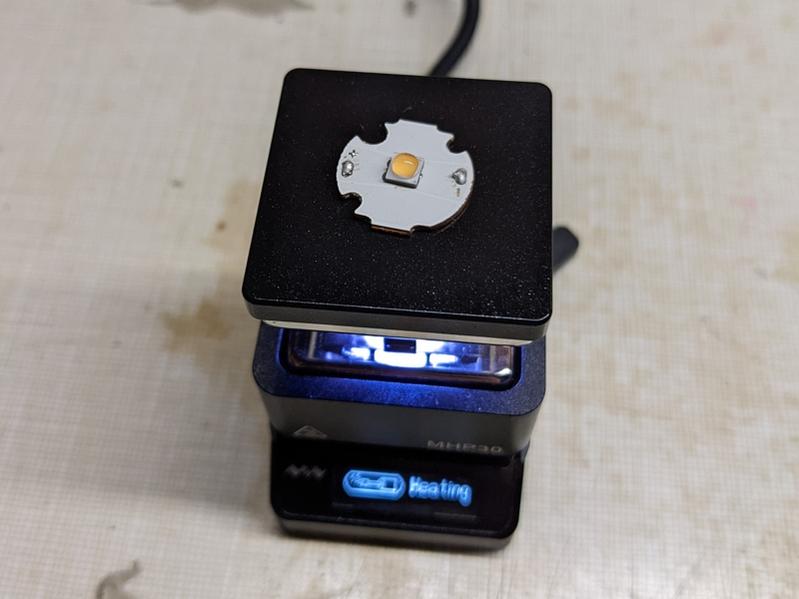
6. Place the MCPCB on a MiniWare MHP30 and heat up to 210 C. Remove the emitter with tweezers when the temperature is around 190 C.
7. Take the MCPCB off the hot plate. Add solder paste to the pads.
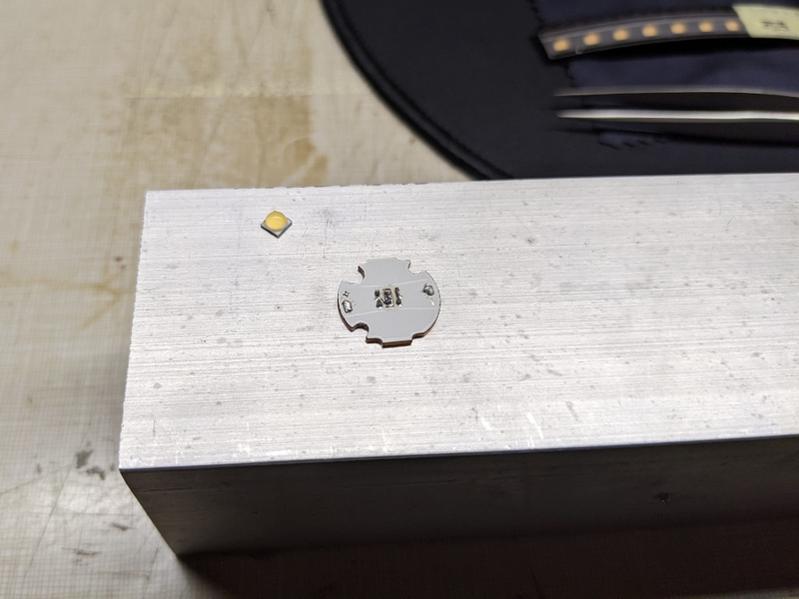
8. Place a Nichia 519A sm353 emitter on the pads with the dot in the corner oriented toward the negative side of the MCPCB.
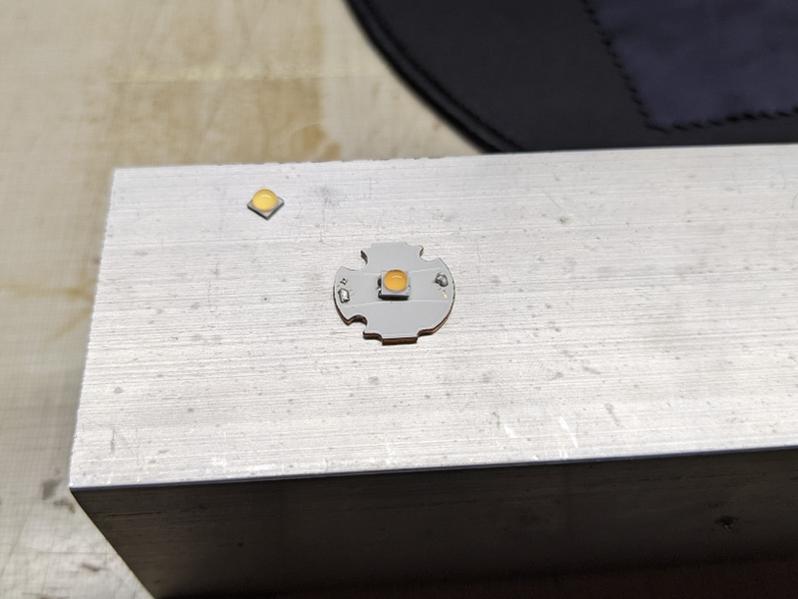
9. Place the MCPCB on a MiniWare MHP30 and heat up to 210 C. Take the MCPCB off and place it on a heat resistant surface. Tap the emitter with tweezer handles to make the emitter squeeze excess solder out to the sides. The emitter should bounce back into the centre of the pads. Once cool, remove solder balls from around the side.
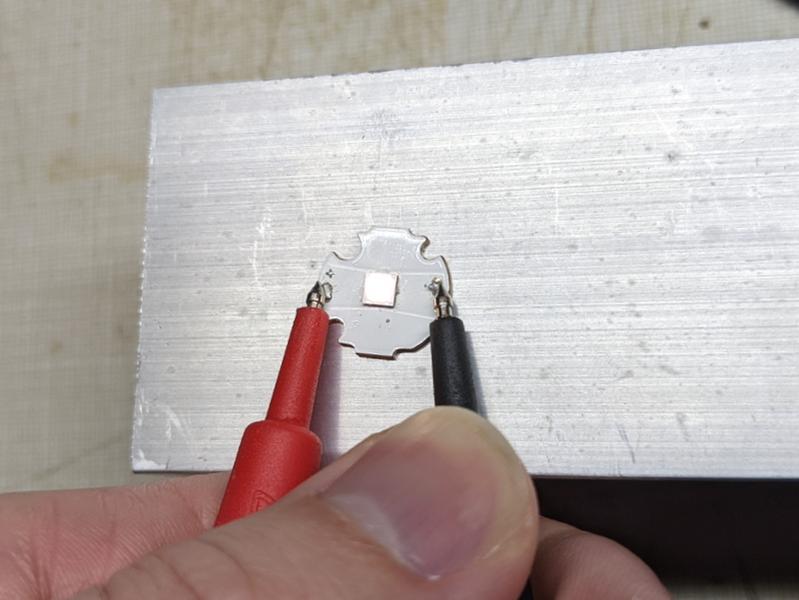
10. Test the emitter by connecting probes from a digital multimeter to the MCPCB’s anode and cathode while in diode test mode. The emitter should light up.
11. Add thermal paste the shelf of the head and to the back of the MCPCB.
12. Place the MCPCB back in the head. Press the MCPCB down to spread the thermal paste. Solder the wires back on. Add the gasket.
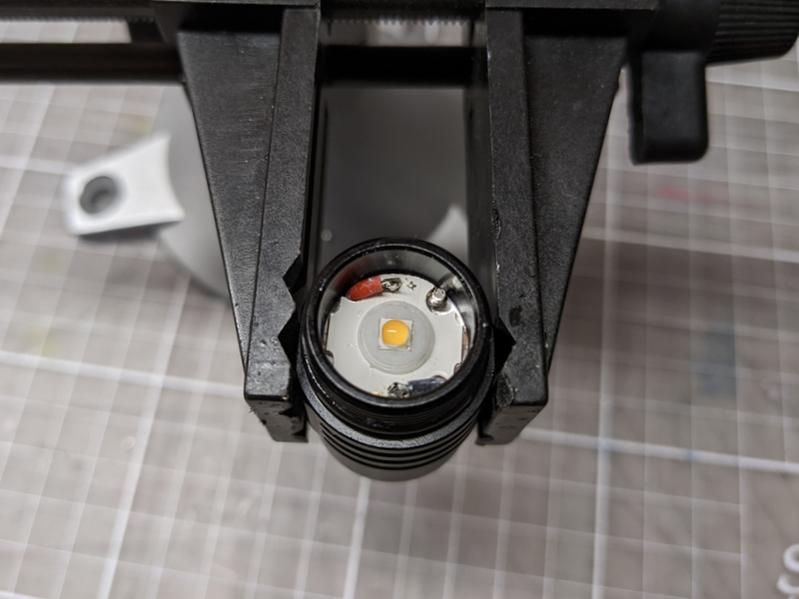
13. Screw the head back on.
And the emitter swap is done!
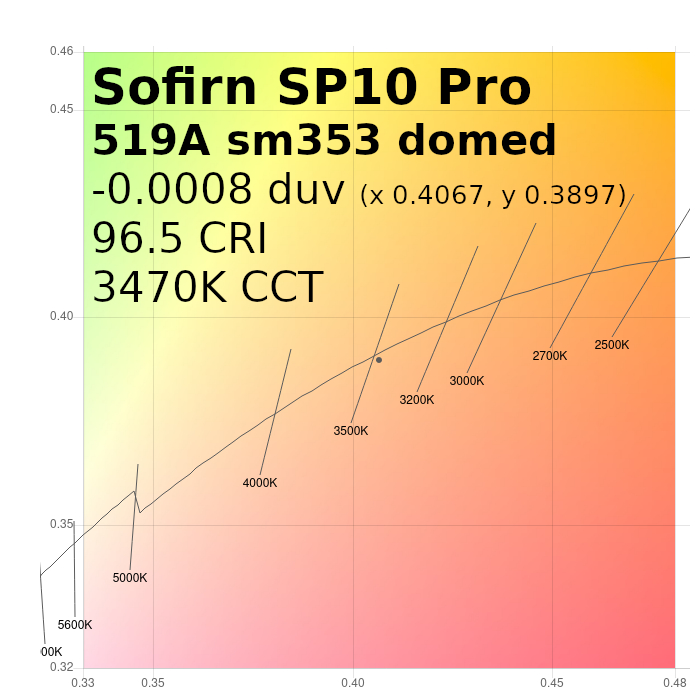
I measured a duv of -0.0008, 96.5 CRI and 3470K CCT with an Opple Light Master Pro III (G3) with a Nichia 519A sm353 (domed) emitter in a Sofirn SP10 Pro set to Turbo.
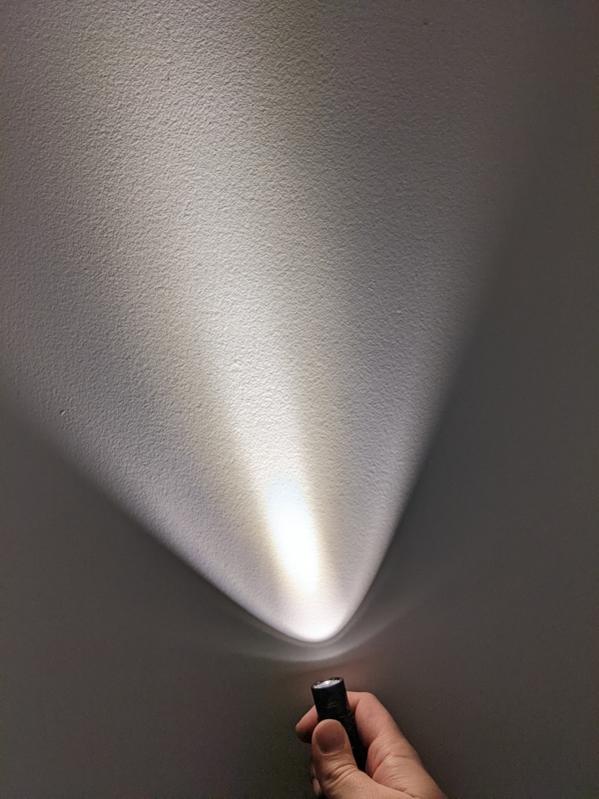
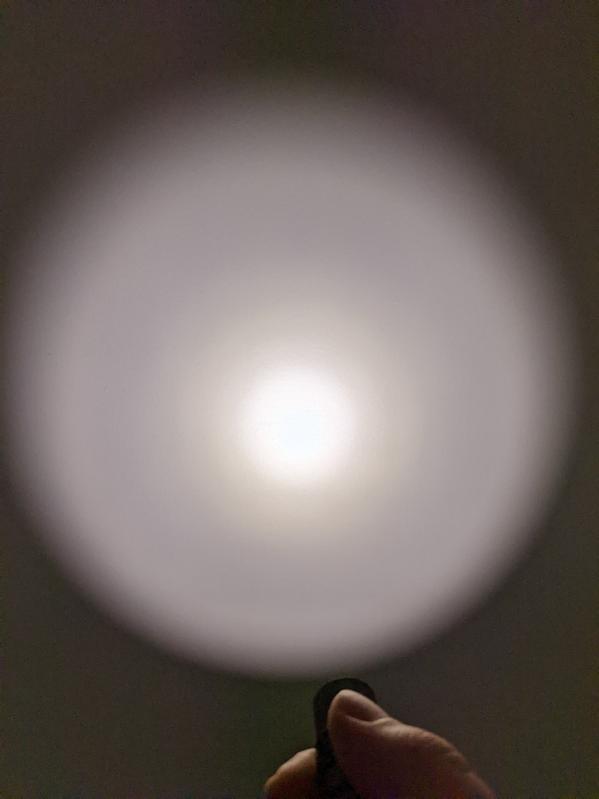
Here are a few beamshots: